
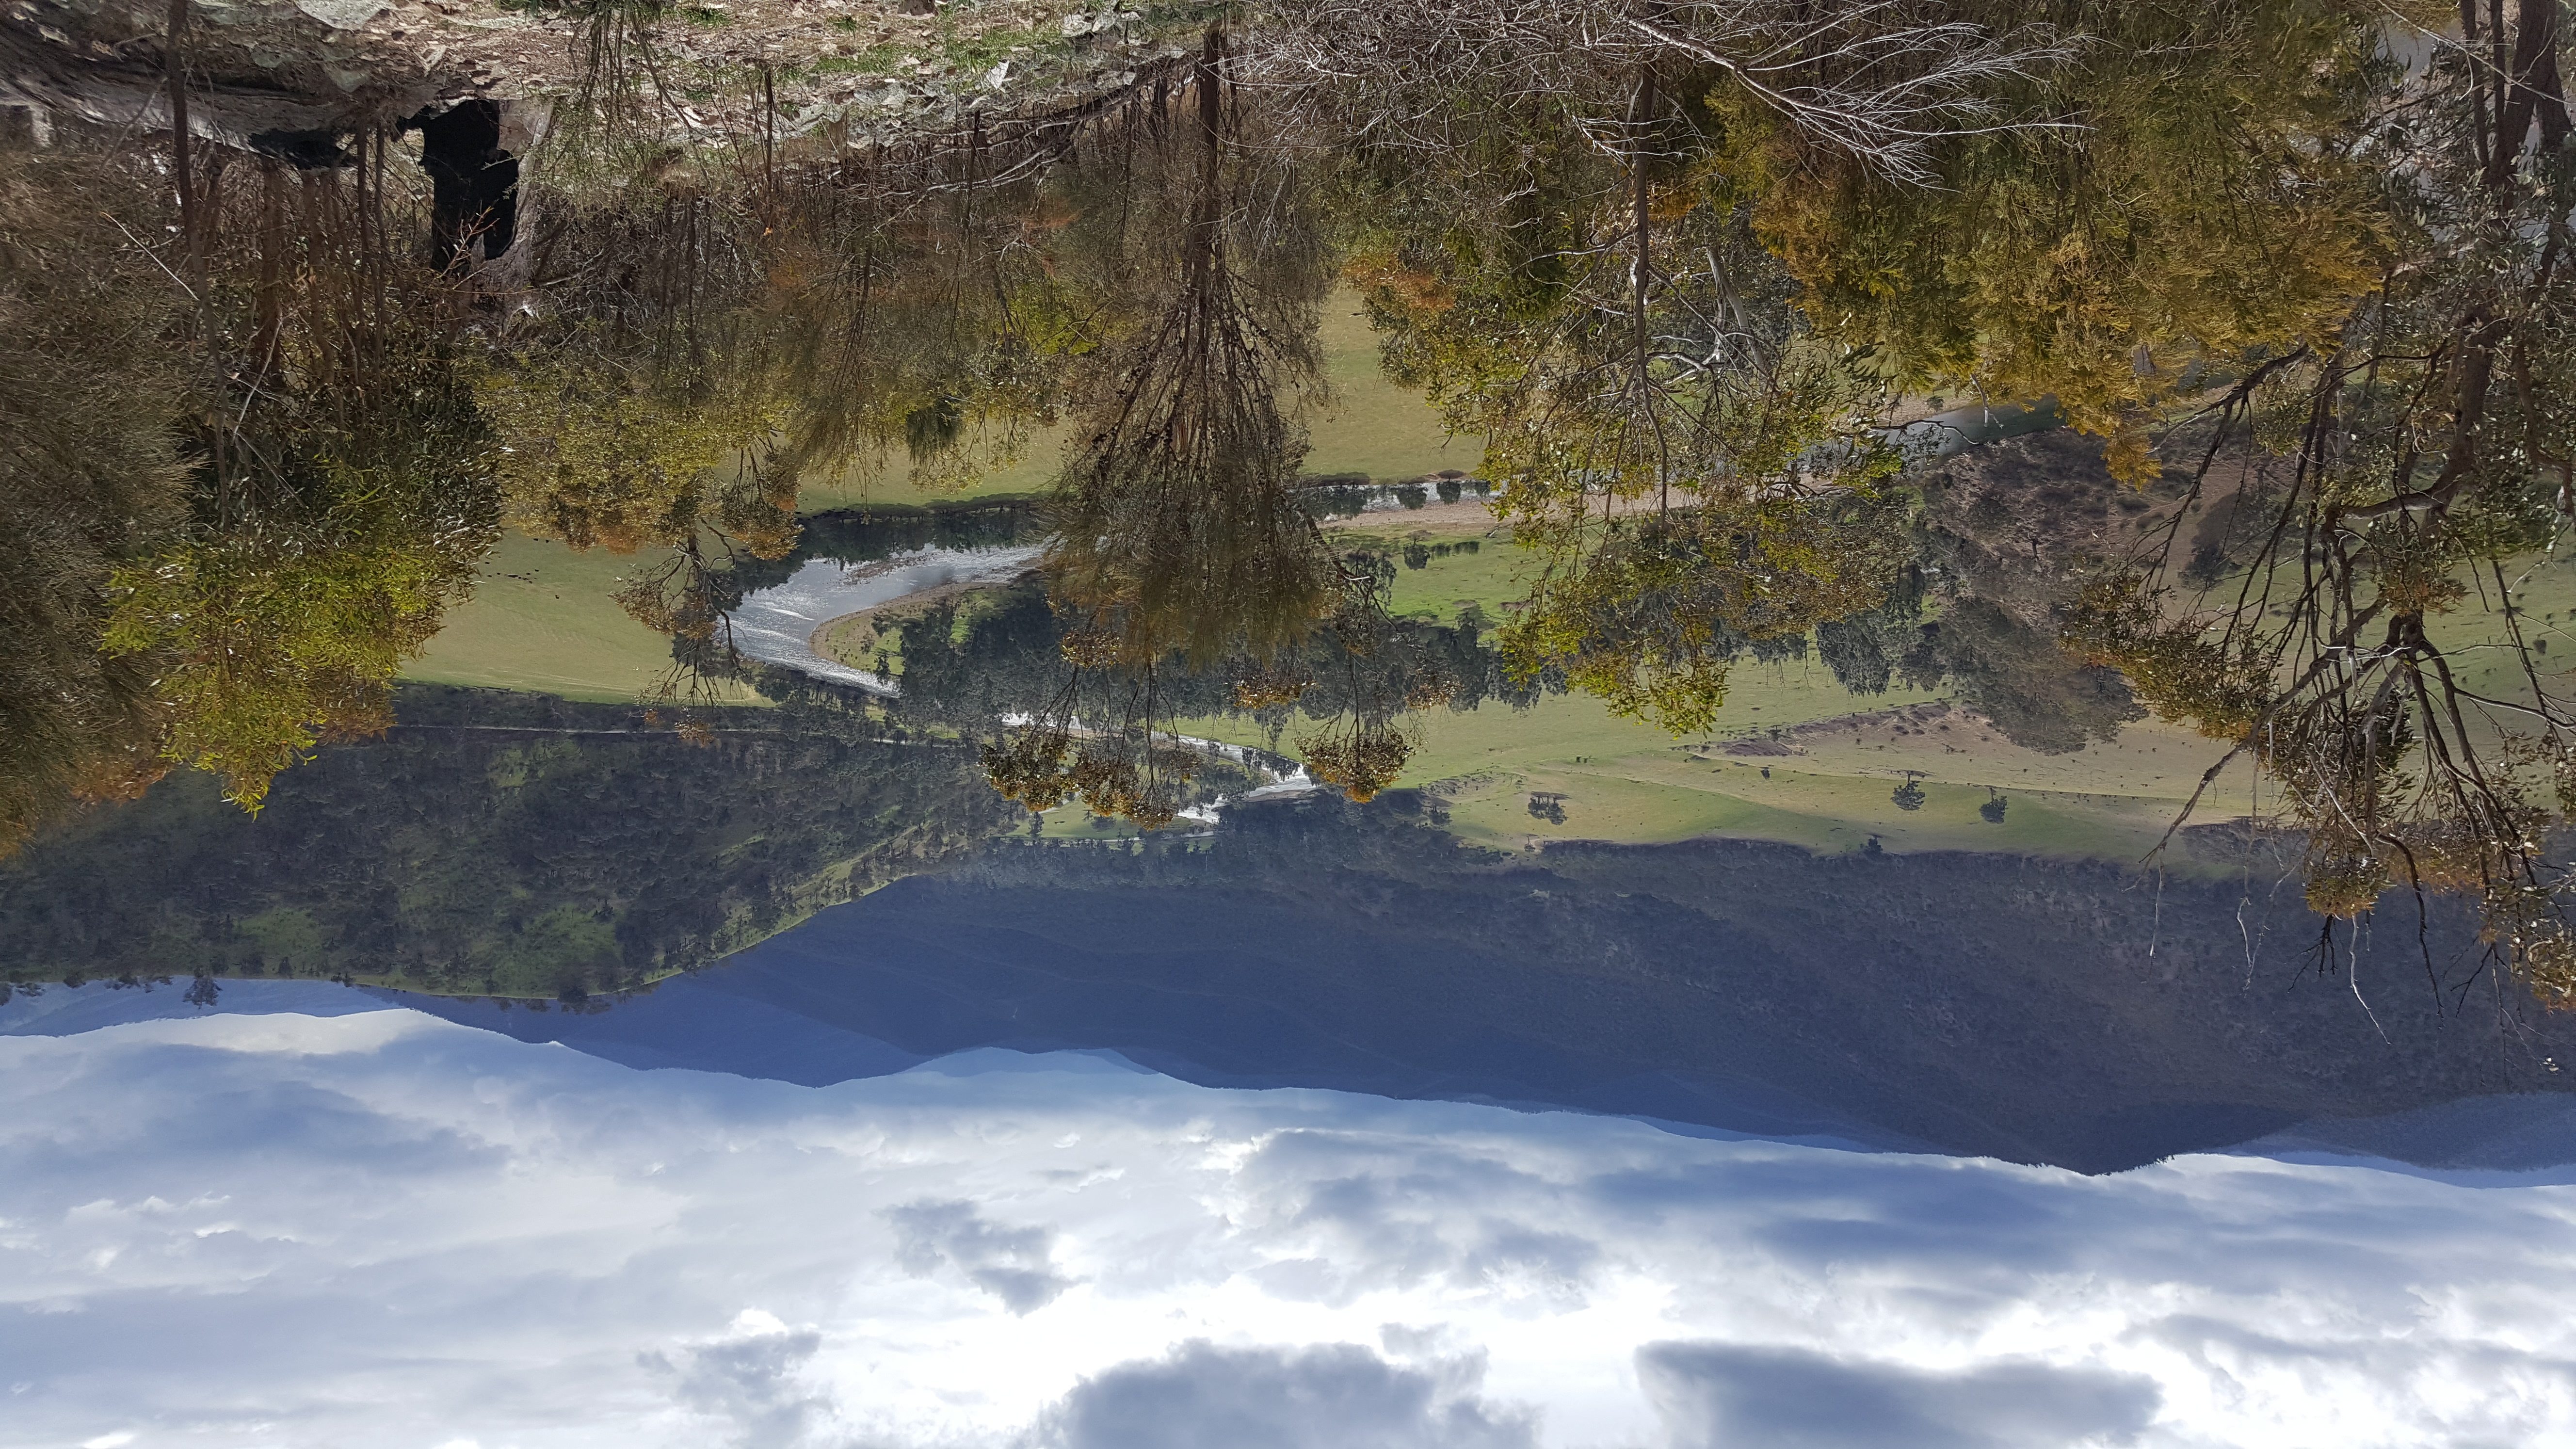
Licola valley and the Macalister river on the approach to the southern Alpine National Park
Looking to complete a few more summits during the winter bonus period, I decided (together with Glenn VK3YY and Andrew VK3JBL) to return to the southern Alpine National Park in the same area we visited back in February. The plan was to attempt Mt Kent and Mt Dawson, both of which had only been activated once before, together with Picture Point Range and Trapyard Hill. We managed 3 out of 4.
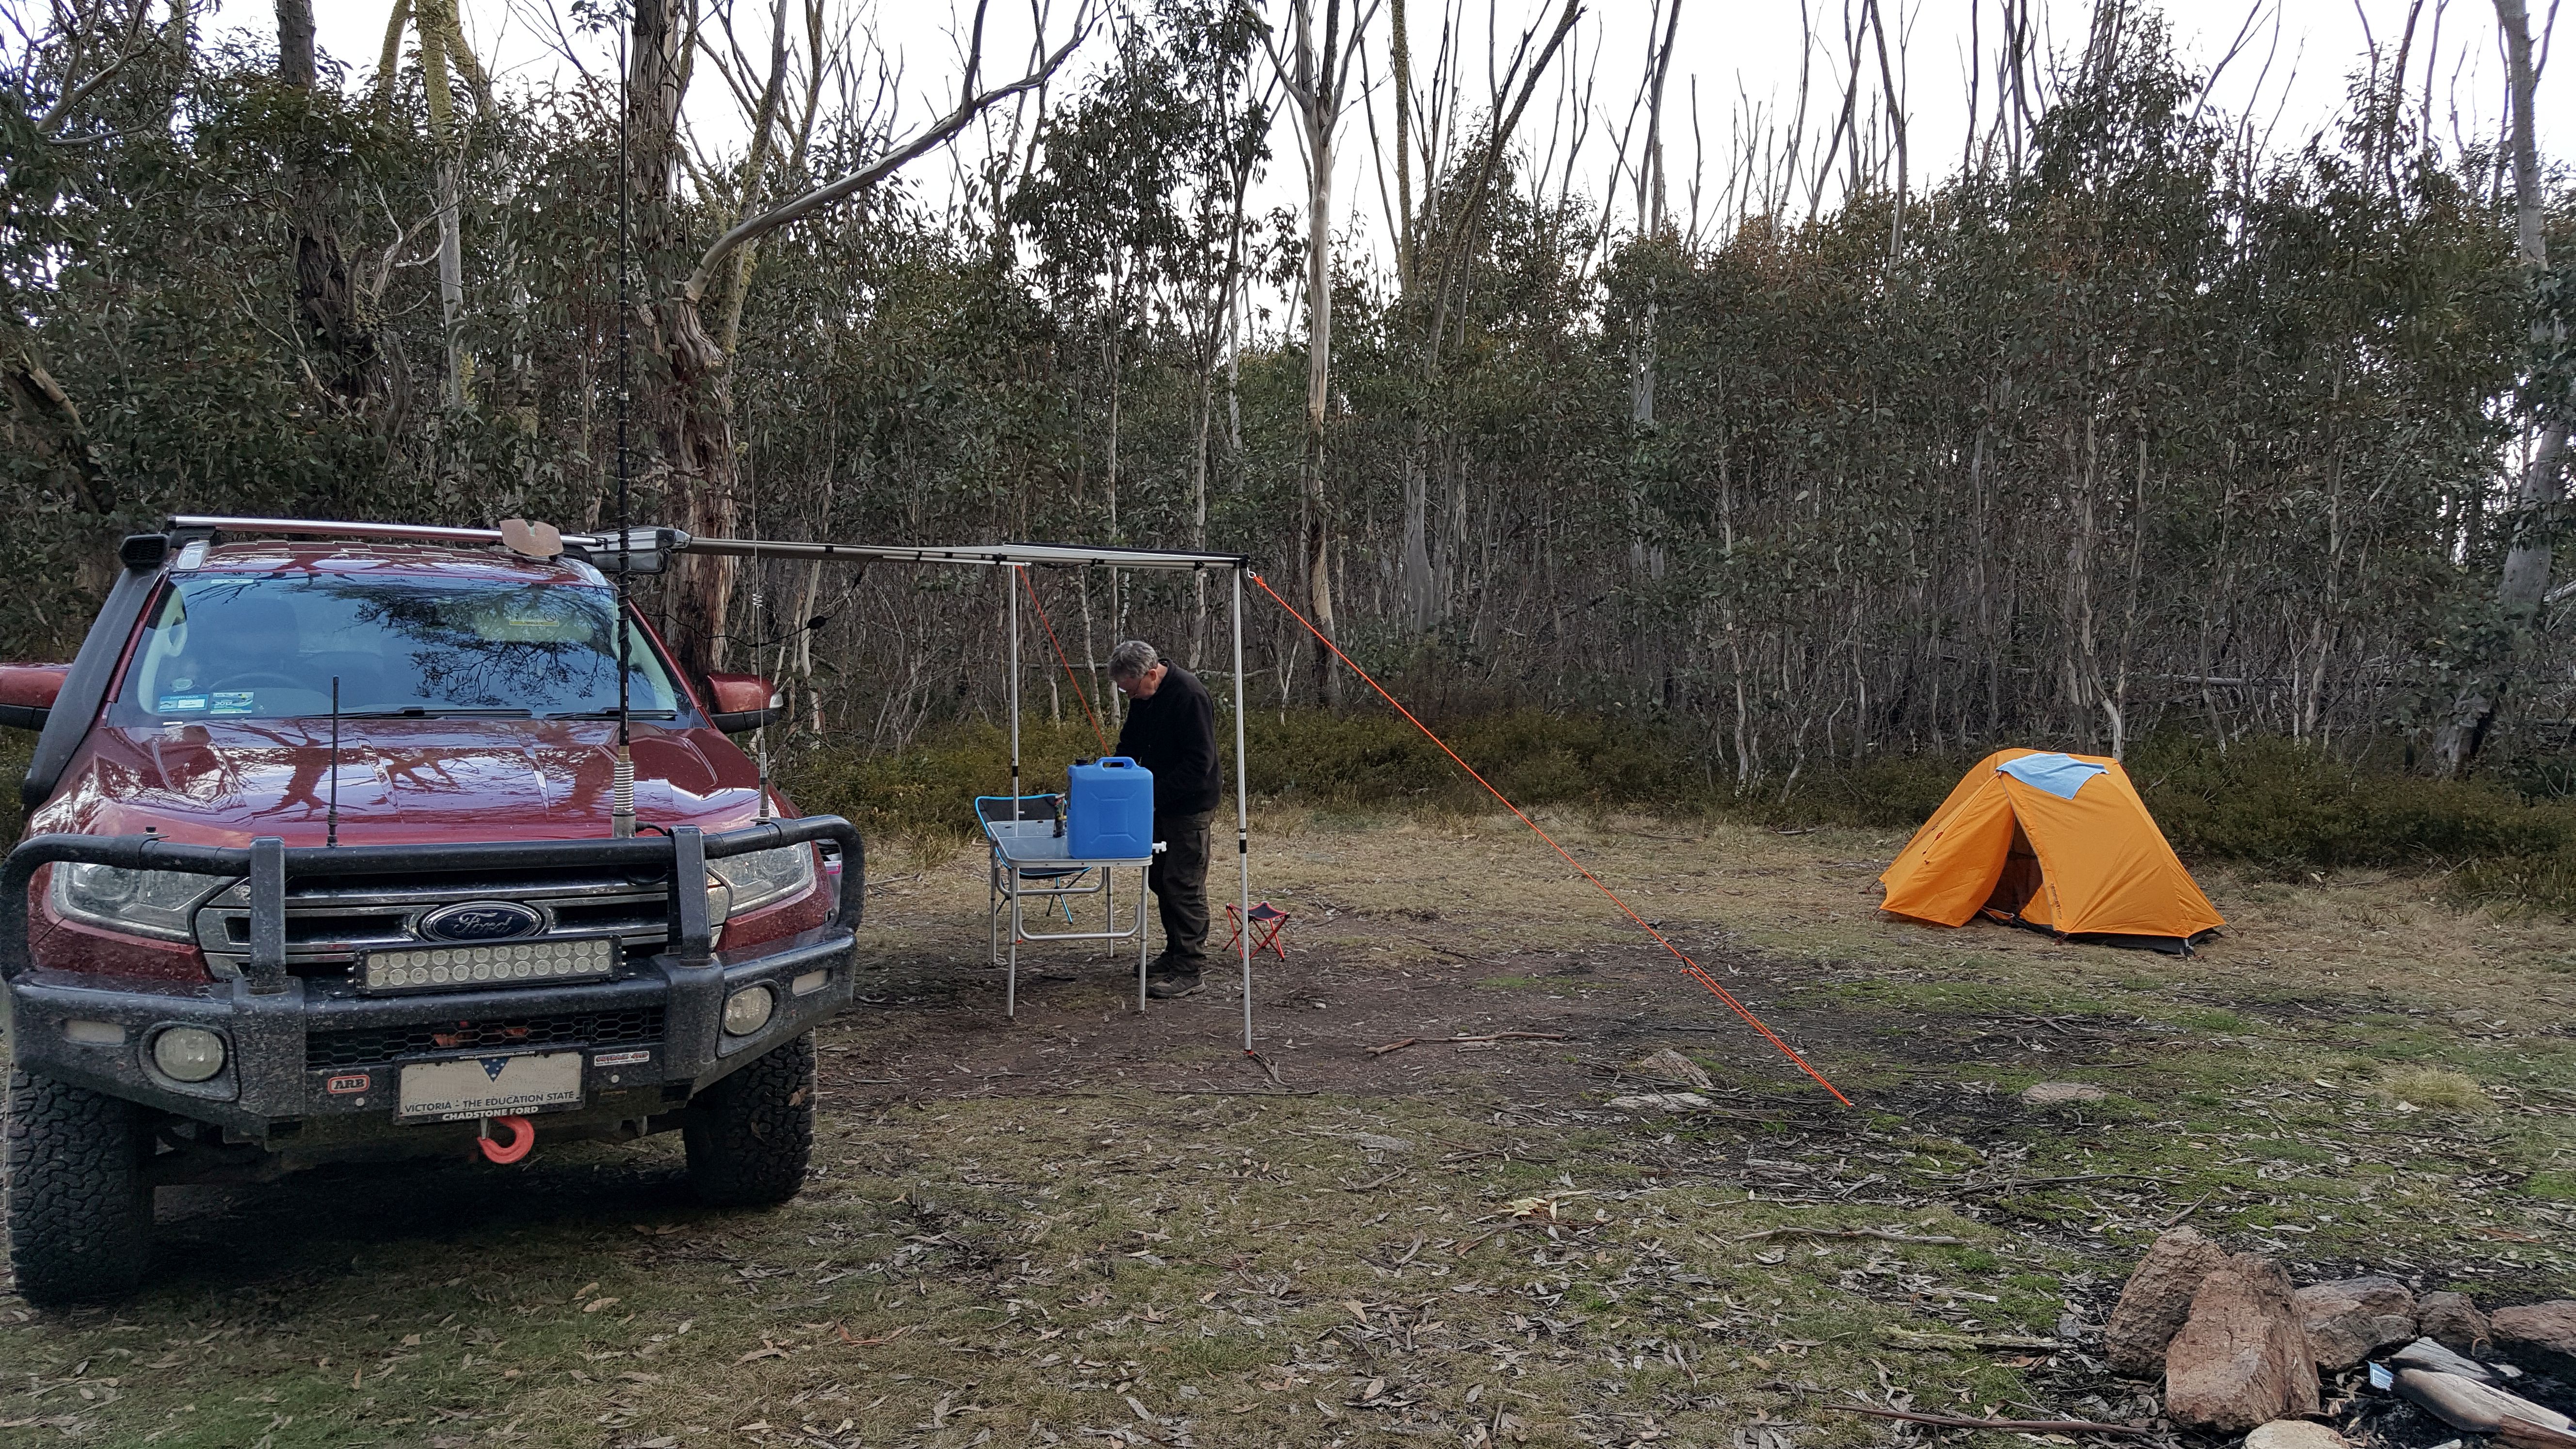
McFarlane’s Saddle campsite
Glenn and I left Melbourne about 2:30 on Friday afternoon and drove to McFarlane’s Saddle campsite arriving around 6:30 in time to set up camp before dark. The campsite is at 1500m elevation and so we were wondering whether we would find snow given the high snowfalls this season – there was none, and in fact we barely saw any all weekend.
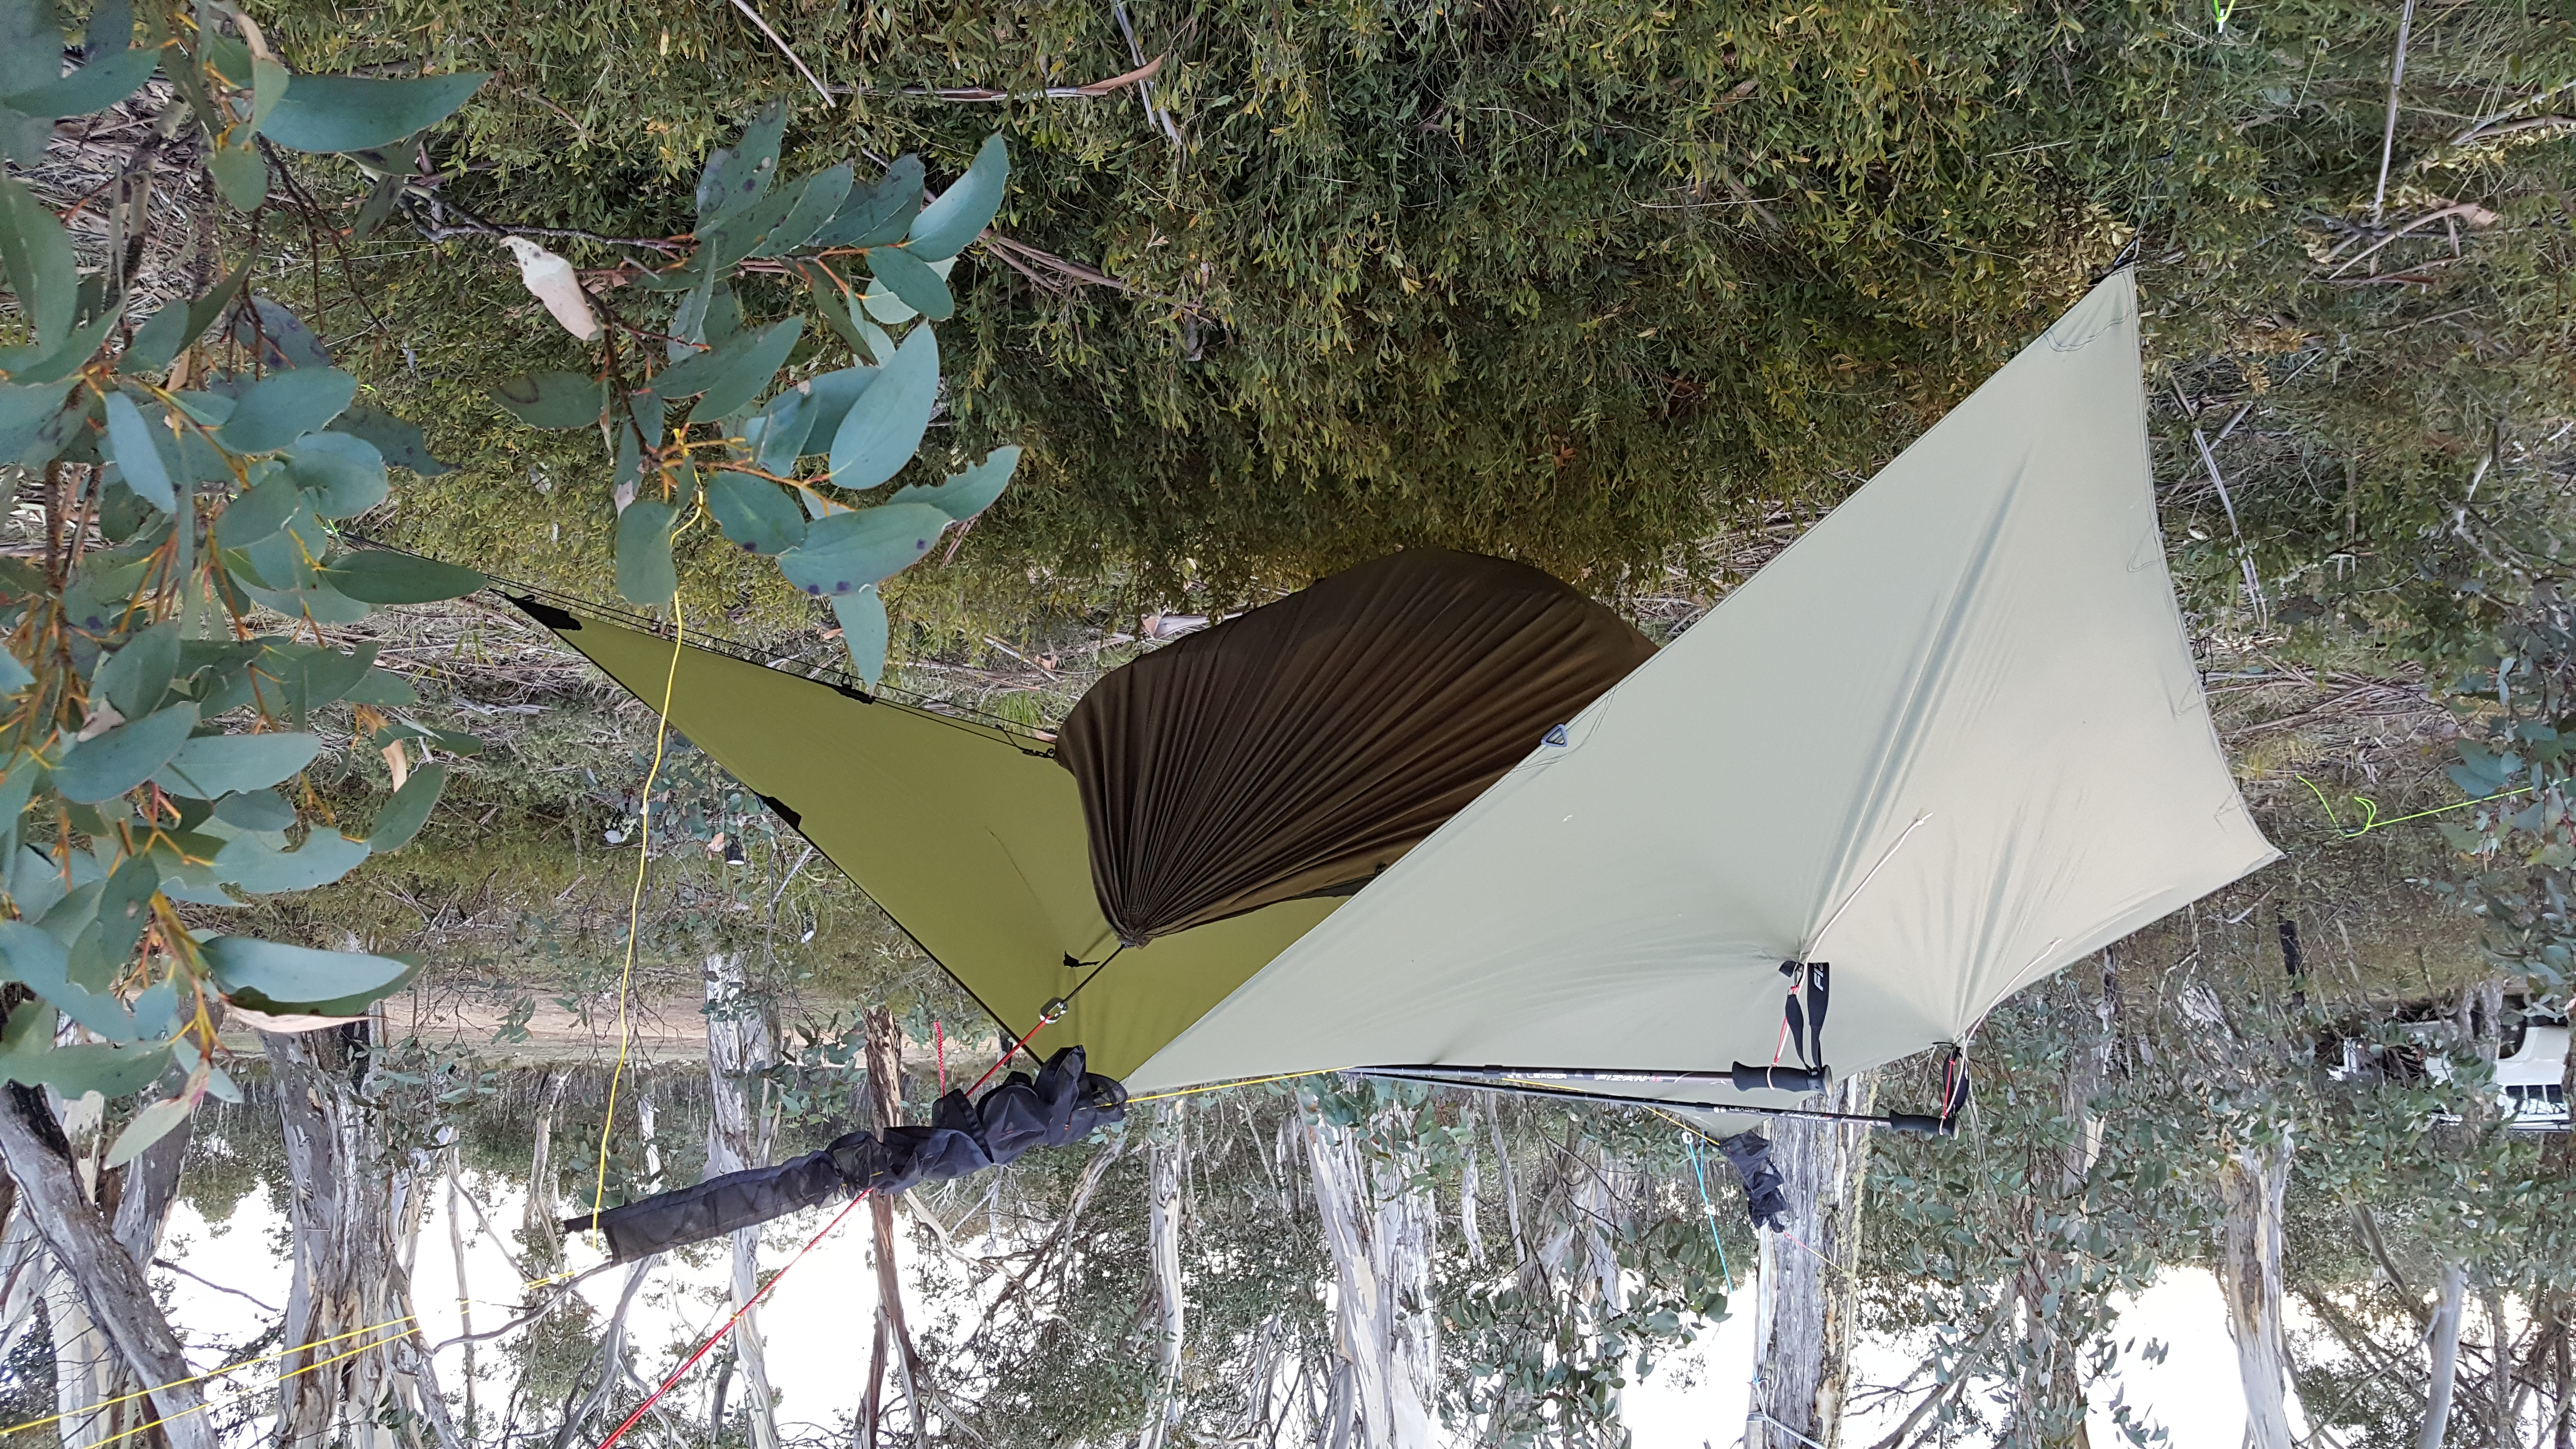
My camping hammock and tarp
This trip I was trying out my new Dutchware Chameleon camping hammock for the first time and found a couple of suitable trees to hang it from. Hammocks are very comfortable to sleep in once you have them set up correctly – as long as you have enough insulation underneath you. On Friday night the temperature fell to zero degrees overnight and I was a bit on the cold side, even with my R3.3 sleeping mat and some additional reflective foil in the hammock underneath me. There was a light wind and the convective cooling on the underside of the hammock was significant. I think I will need to invest in an under-quilt for the hammock…
We were up with the sun at 7:00 on Sat morning and after a chilly breakfast with hands wrapped around hot coffee cups, we set off to Mt Kent.
Access to Mt Kent is via Shanty Hollow Rd and Mt Kent Track. Being early in the spring, we were not sure whether our attempt would be foiled by large numbers of fallen trees across the road, but to our pleasant surprise, there were no trees that couldn’t be driven past or over.
Mt Kent summit and helipad
Shanty Hollow Rd is mostly 2WD apart from a couple of deepish spoon drains that may have been a challenge on a car with low clearance. Mt Kent track is definitely high clearance 4WD only. I would rate it as a “moderate” 4WD track with some steep sections near the summit and deep spoon drains, one of which stopped progress and required some spotting assistance to get across despite 275mm clearance on my Ford Everest. There was also one fallen tree that had been sawn through, but with very narrow clearance.
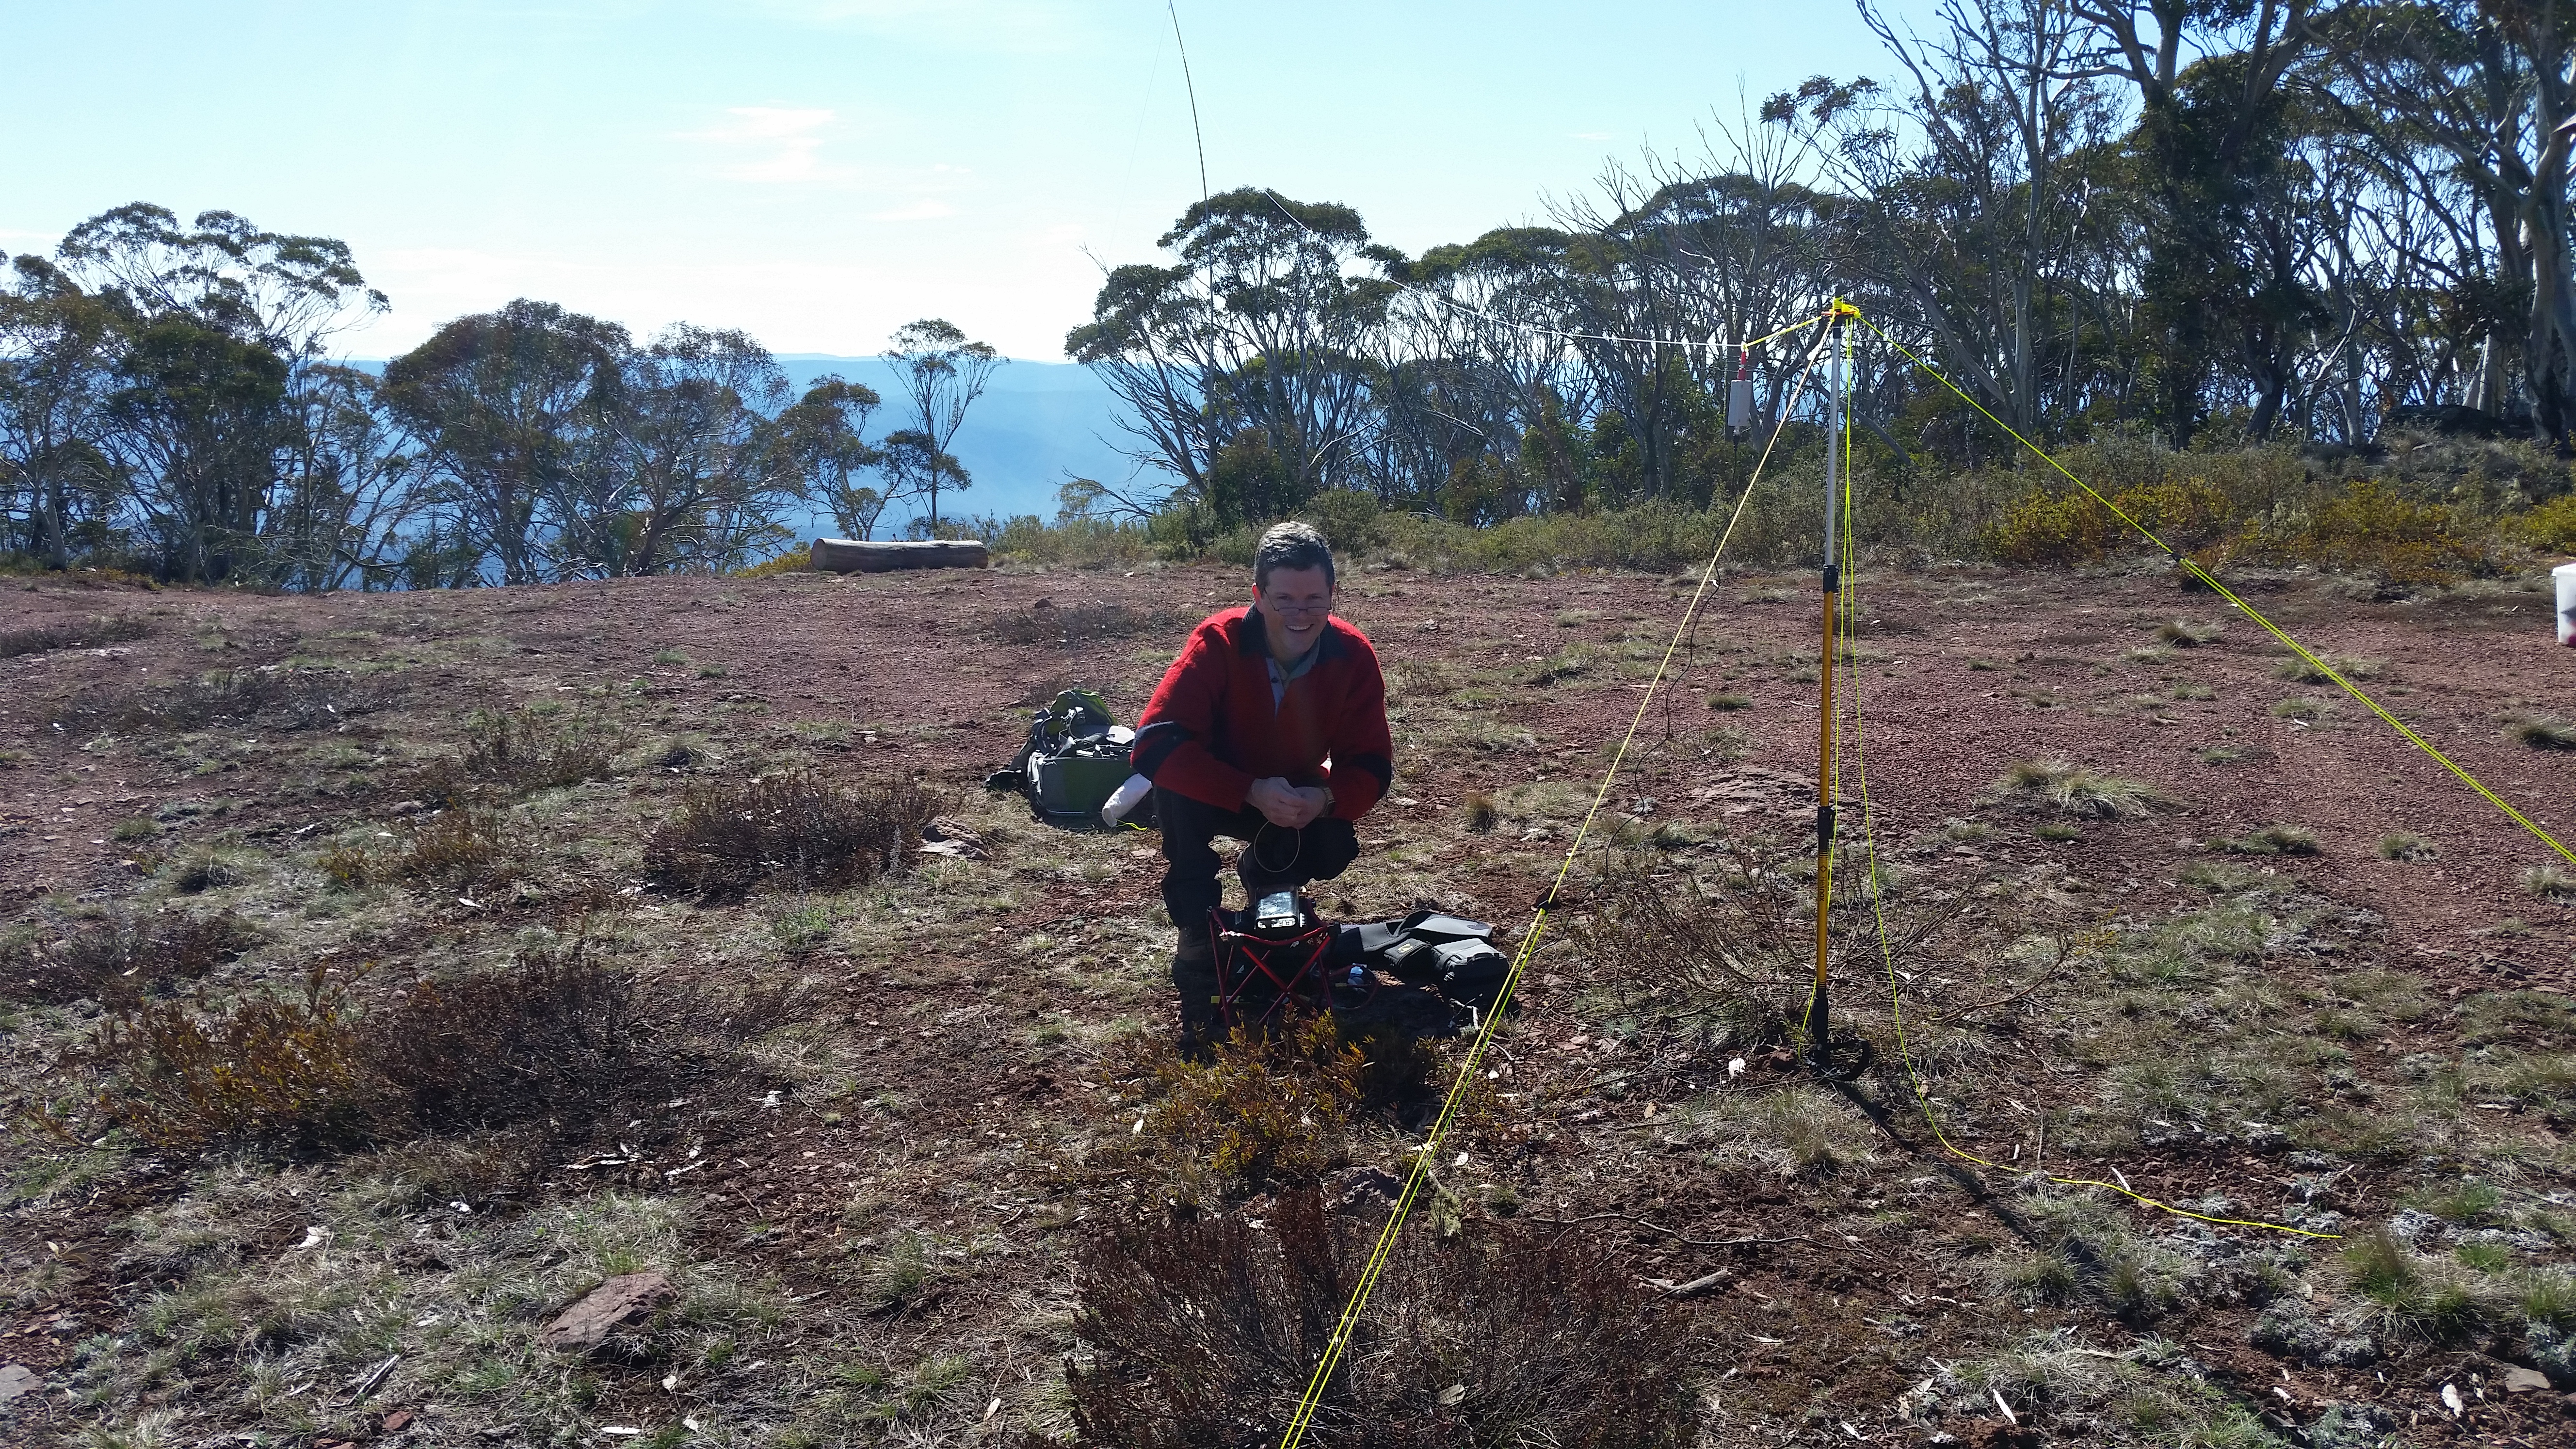
Me operating on Mt Kent (Photo: Glenn VK3YY)
Mt Kent track finishes right at the summit and a helipad which provides plenty of room to rig antennas. We set up a multi-band EFHW antenna with my KX3 and saw that Andrew VK1AD had spotted on 17m. We heard him easily working a station in Noumea and completed a S2S with Andrew and worked the Noumea station – a great start to the weekend. We then worked a bunch of regulars on 40m and 80m to qualify the summit well ahead of schedule.
Shanty Hollow Rd extension – bulldozers only!
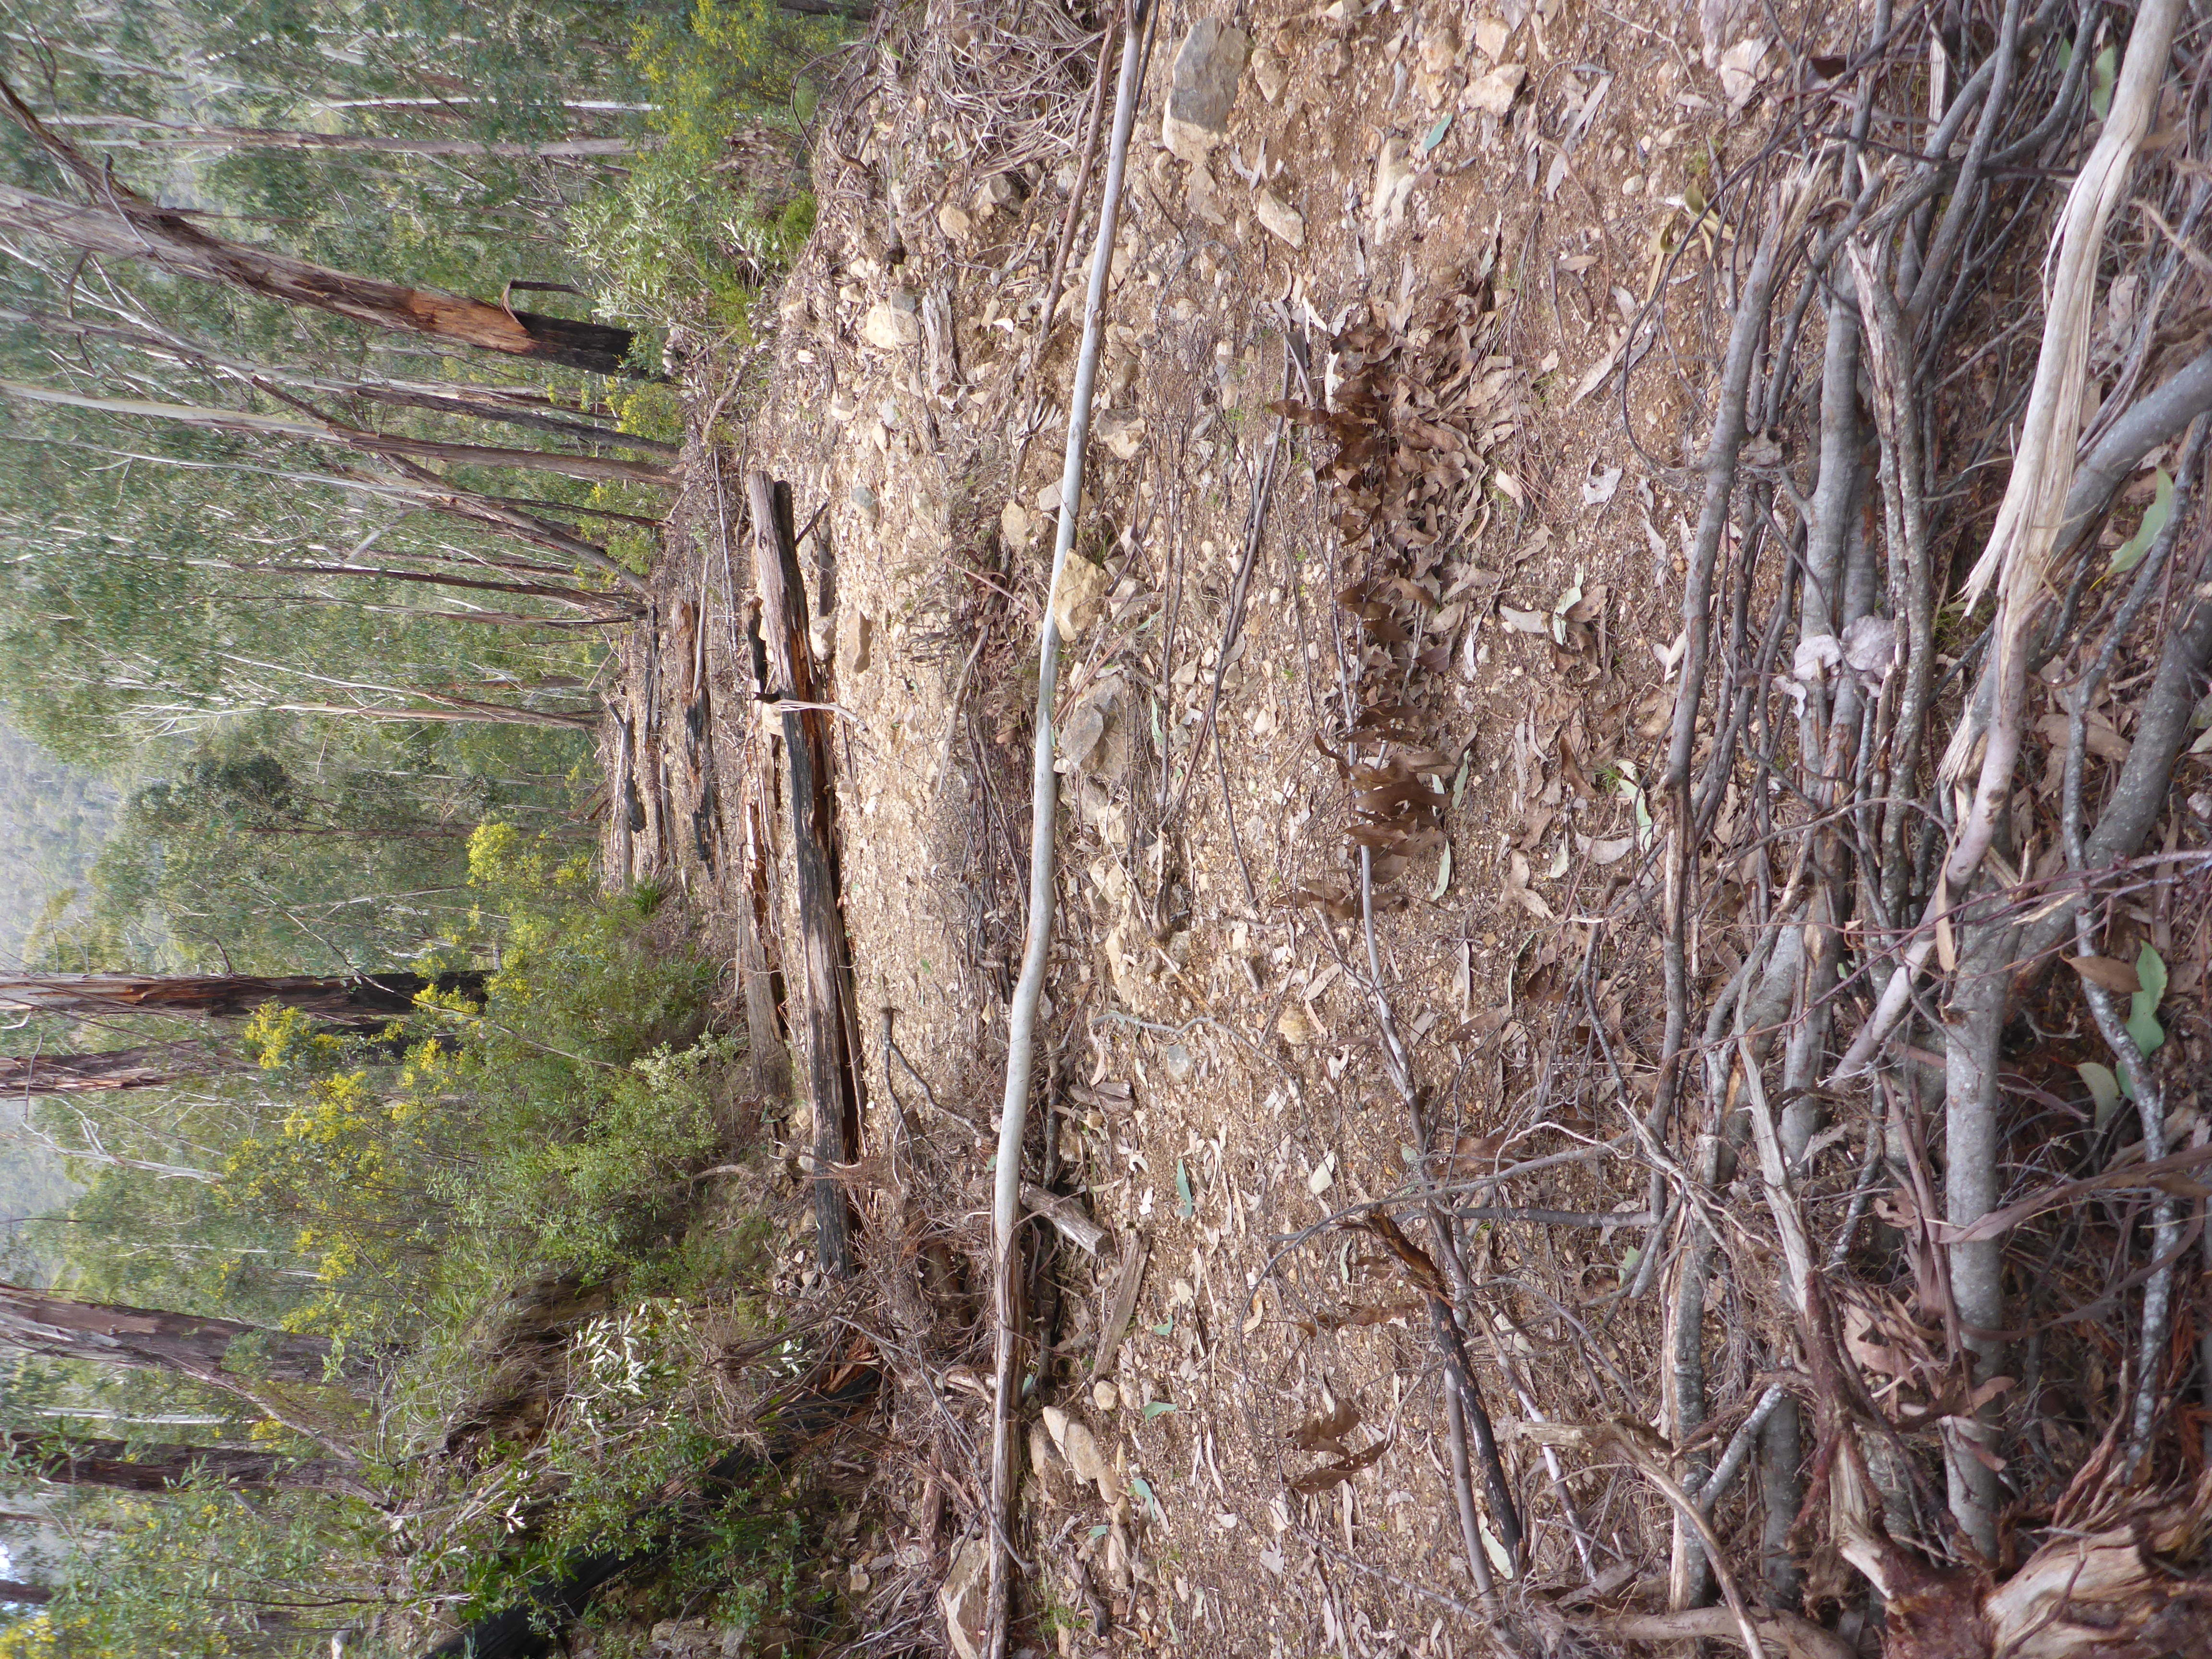
Packing up the station we headed back down to Shanty Hollow Rd and continued along it to the saddle between Mt Kent and Mt Dawson. Shanty Hollow Rd ends here in a large earth embankment that separates the road from a “management vehicles only” extension. The extension would however only be navigable by a management vehicle in the form of a large bulldozer!
The easiest route to Mt Dawson is to follow the road extension to near the closest point of approach to the summit and then head direct to the summit through the bush. This bush is quite thick and progress is slow. The last section of the road extension has clearly not seen a vehicle for probably more than 30 years judging by the size of some of the regrowth trees – the road is barely discernible from the rest of the bush.

You will see from the GPS track that we got a bit off course on the way up and found a more direct route on the way down – follow our return route if you tackle this summit (track loaded on sotamaps.org).
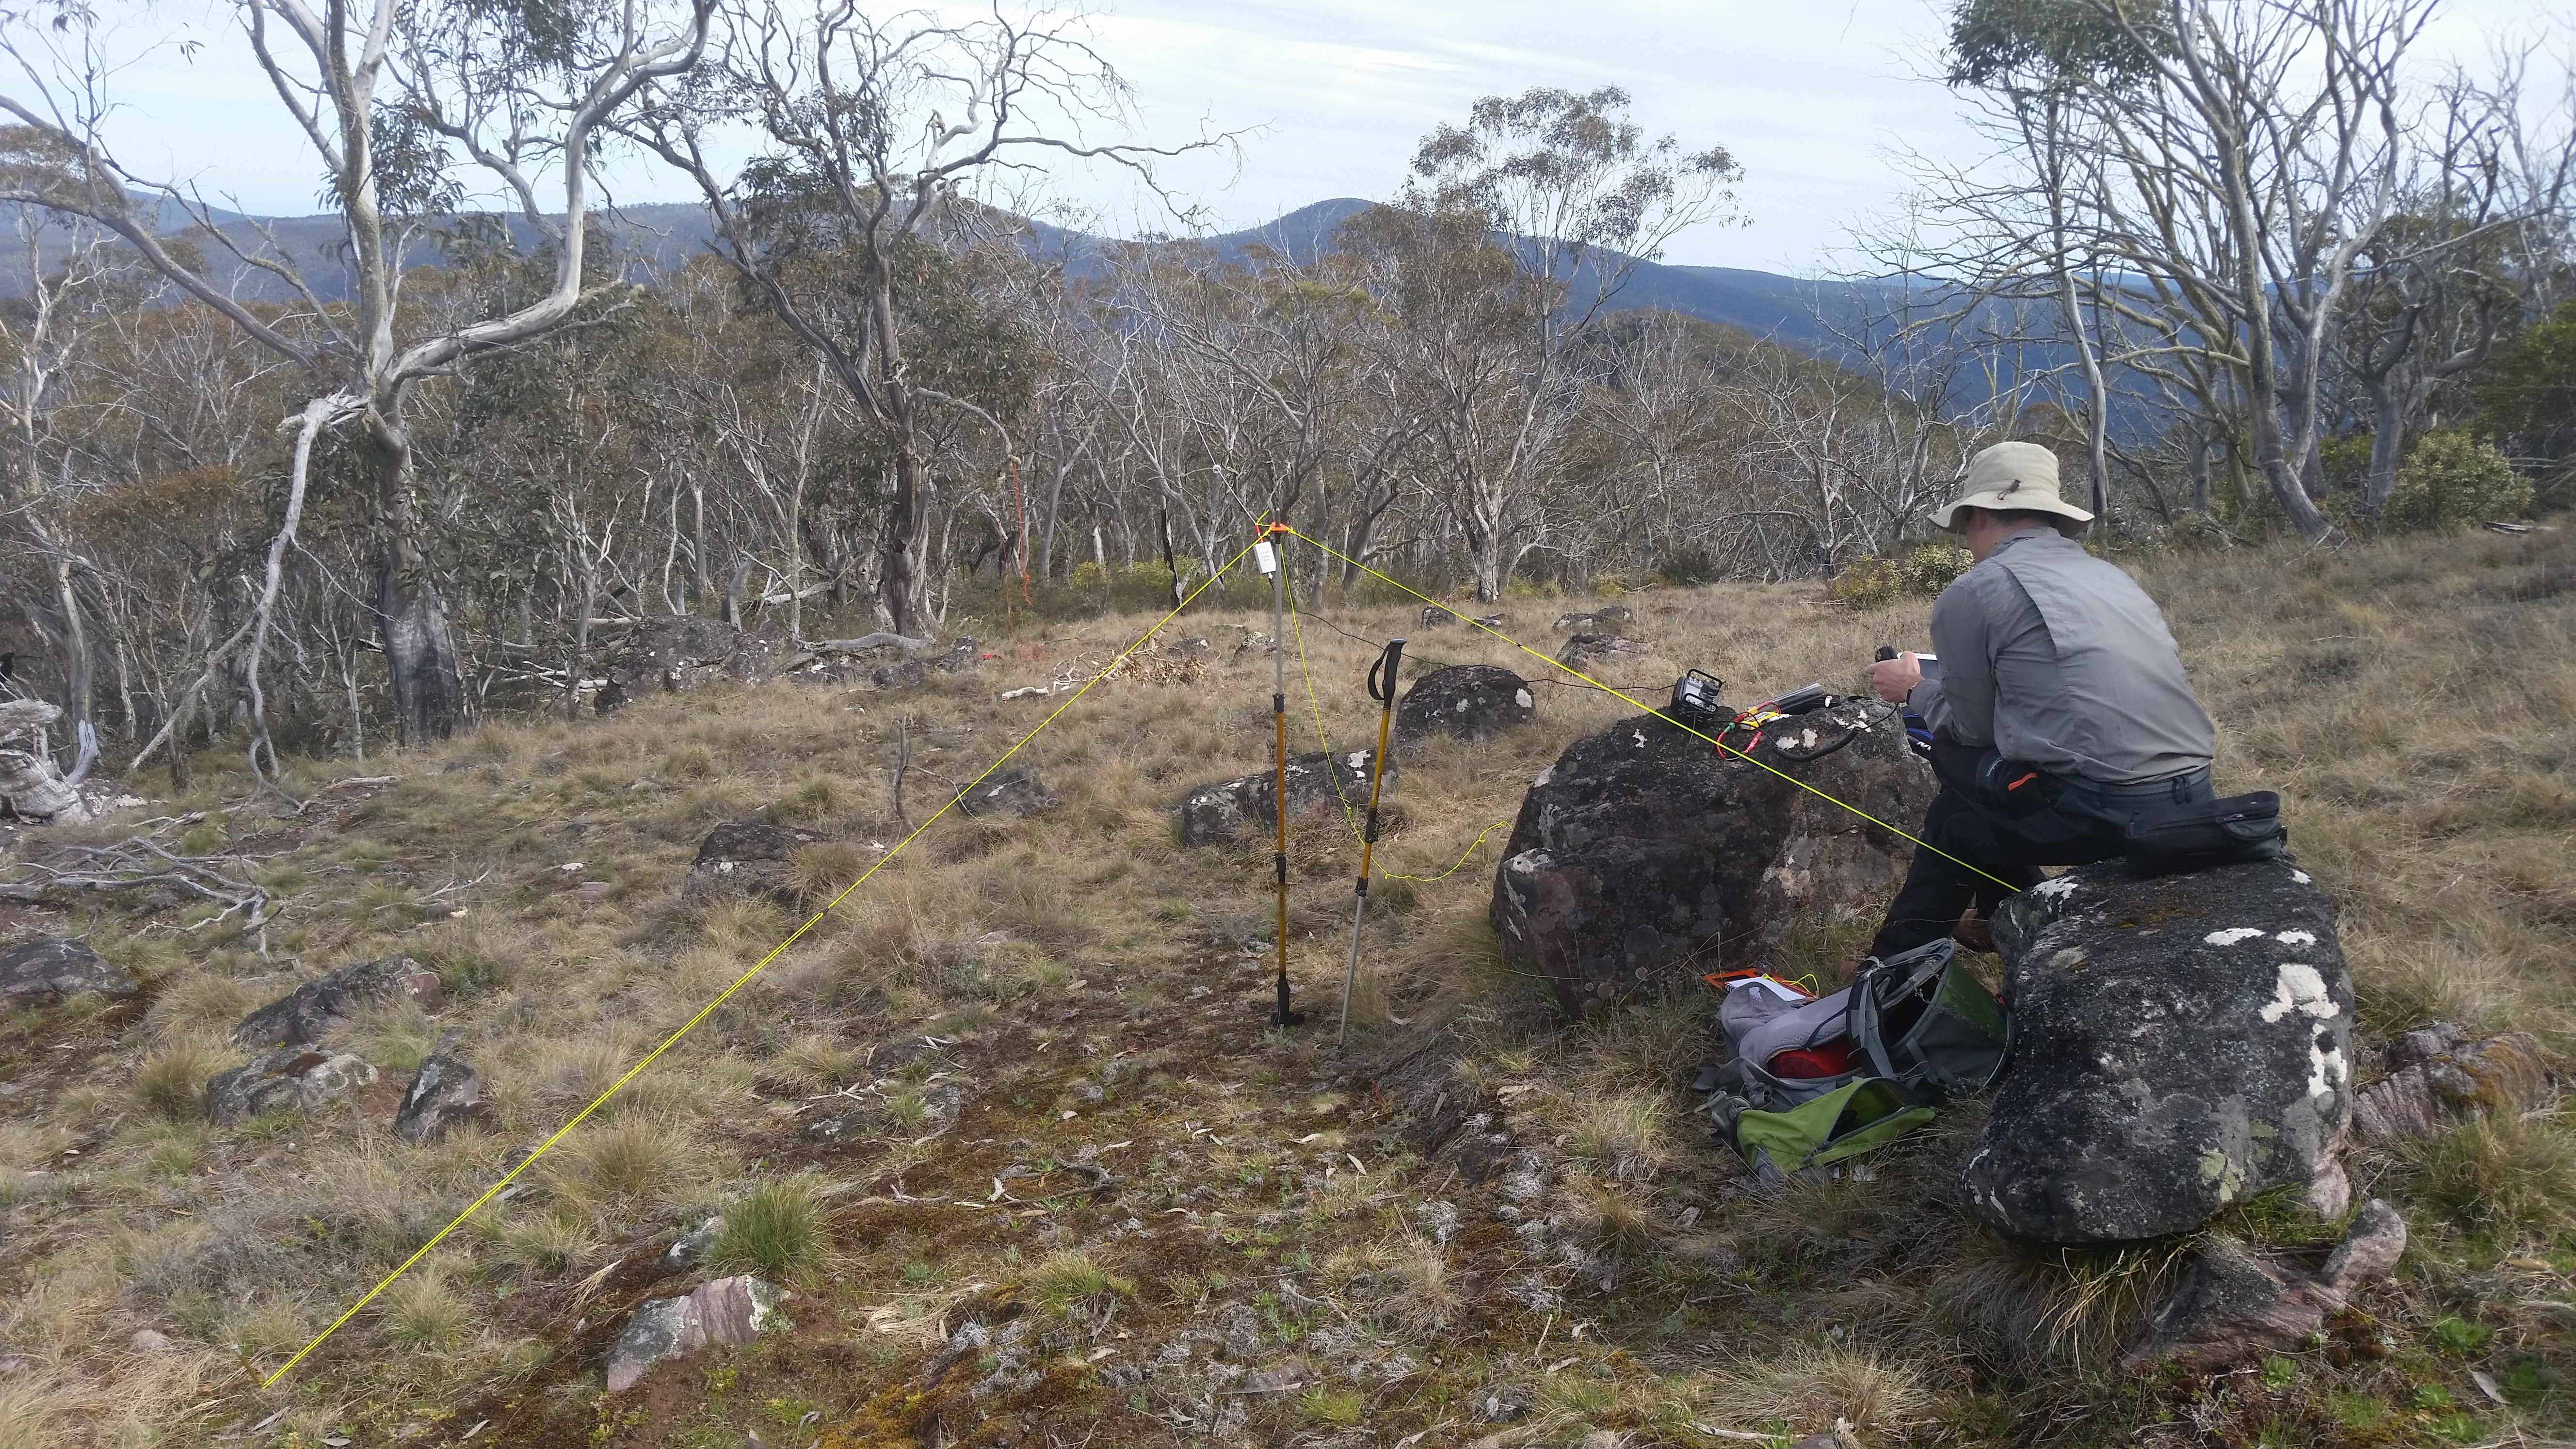
Me operating on Mt Dawson (Photo: Glenn VK3YY)
Just below the summit is a large open area with good trees for hanging antennas. While I was setting up the EFHW, Glenn climbed some rocks with a VHF HT and managed to raise Andrew VK3JBL over on Talbot Peak for a 2m FM S2S. We then worked the regular chasers on 40m and 80m following the usual pattern of the outer states on 40m and the locals on 80m.
Our return to the car was a bit quicker as we found a more direct route down the hill. Returning to camp, we met up with Andrew and enjoyed a warmer night with the temperature dropping to only 7 degrees.
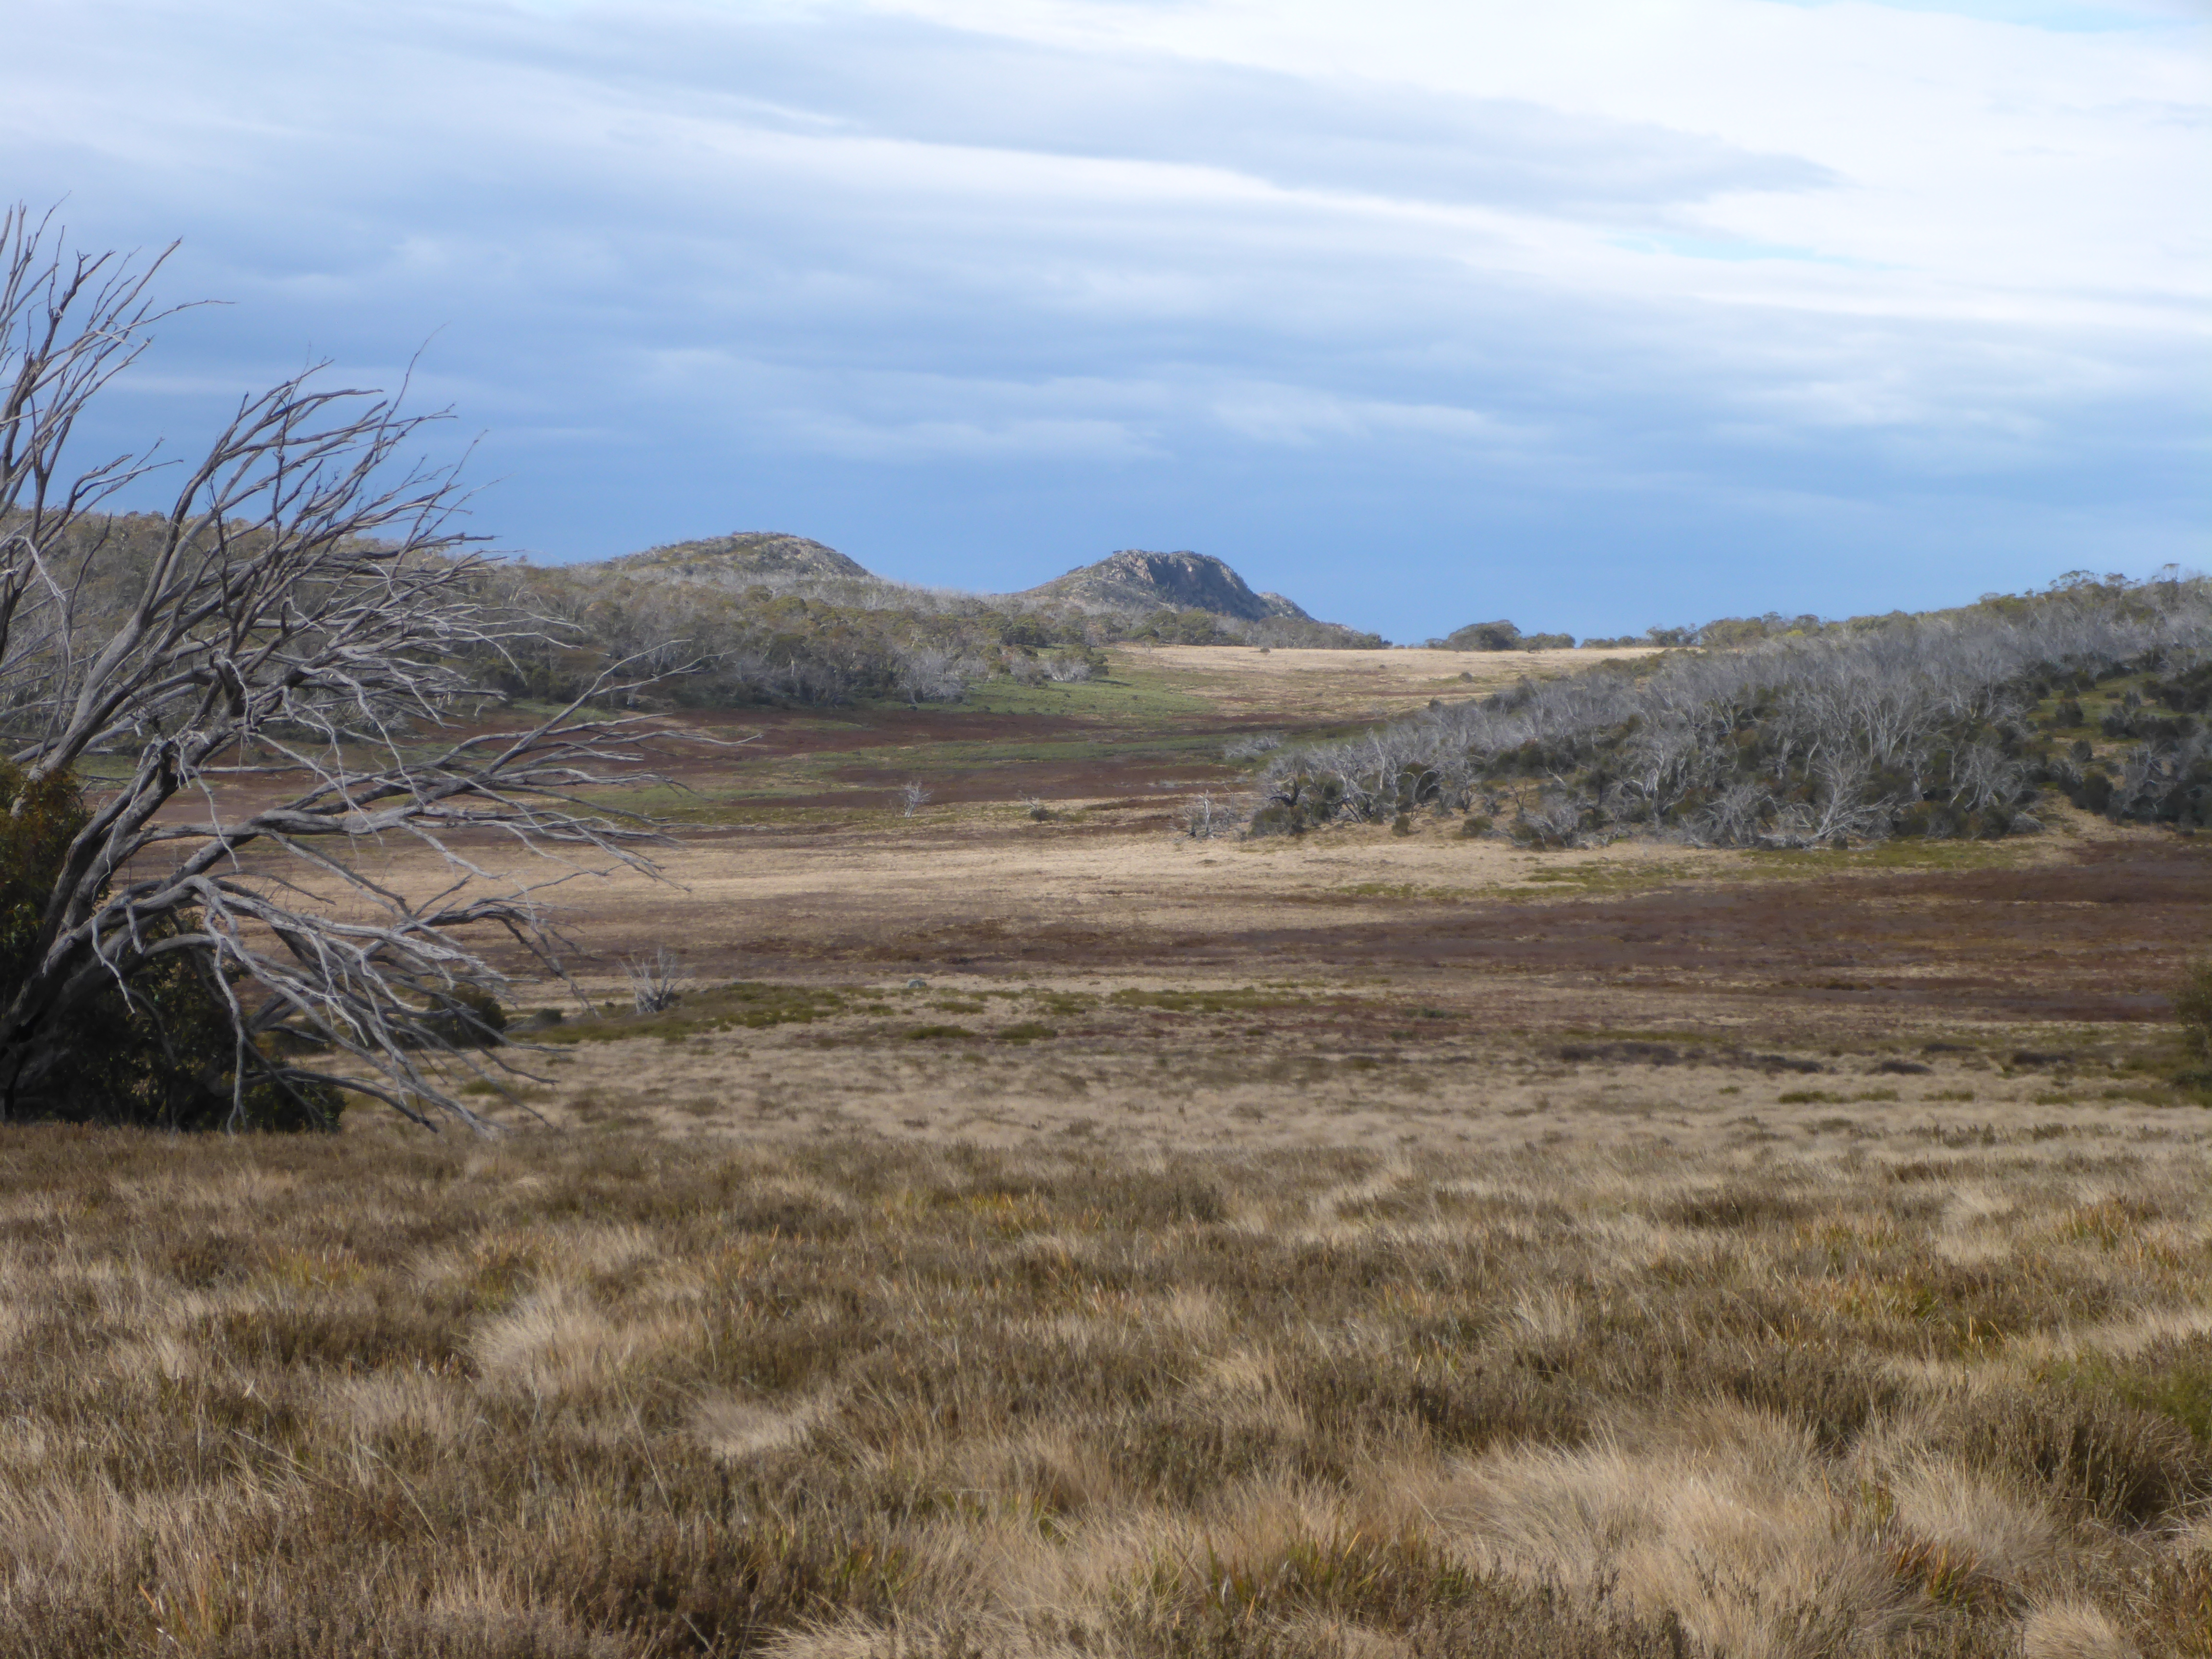
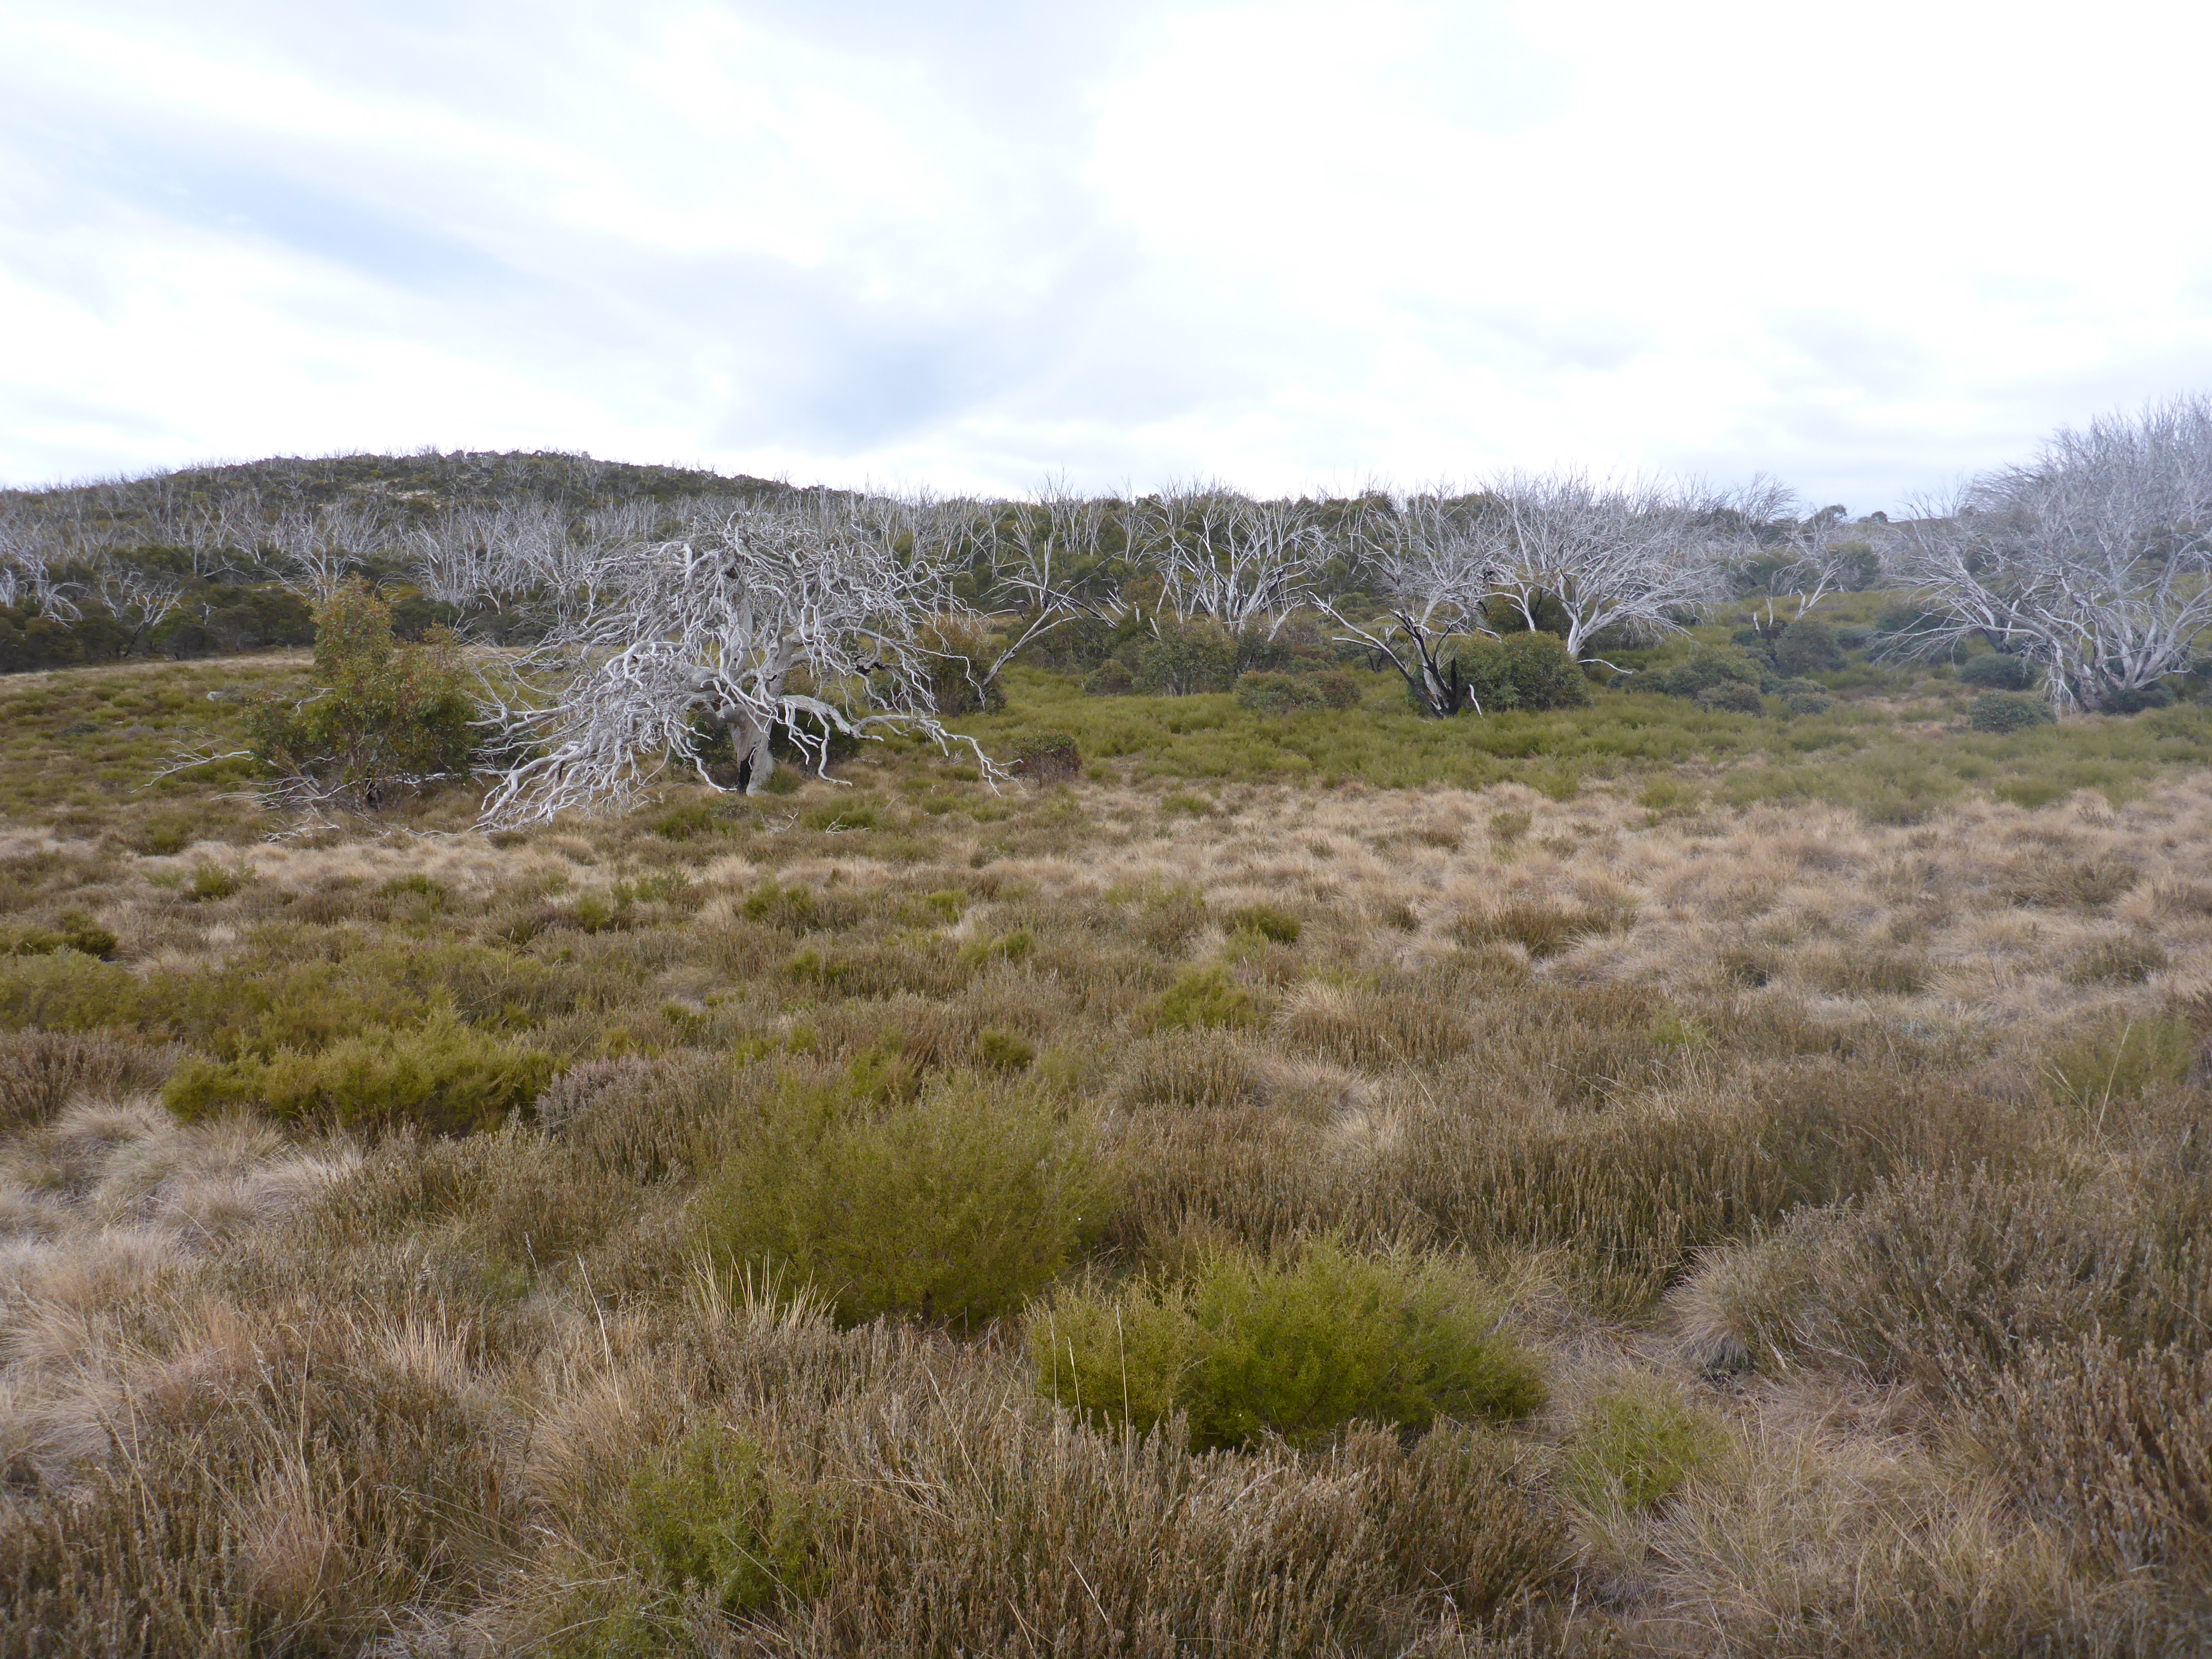
Wellington plains with Spion Kopje in the background
Sun morning we again woke with the sun around 7:00. After breakfast we loaded packs with radios and rain gear given the forecast was for showers and increasing wind. The hike to Picture Point Range follows the Wellington Plains track for most of the distance. This is a well trodden track and easy walking.
This dead tree marks the point where you leave the track and head up to the ridge.
There comes a point where you need to leave the track and head up the summit itself and this is a bit tricky due to a lot of dense bush on the slopes of the summit and surrounding ridges. The place we left the track has an open climb up an intermittent watercourse to the ridge line that avoids the worst of the scrub. From the top of the ridge we headed towards the summit, but still had to push through about 50m of thick scrub and fallen timber.
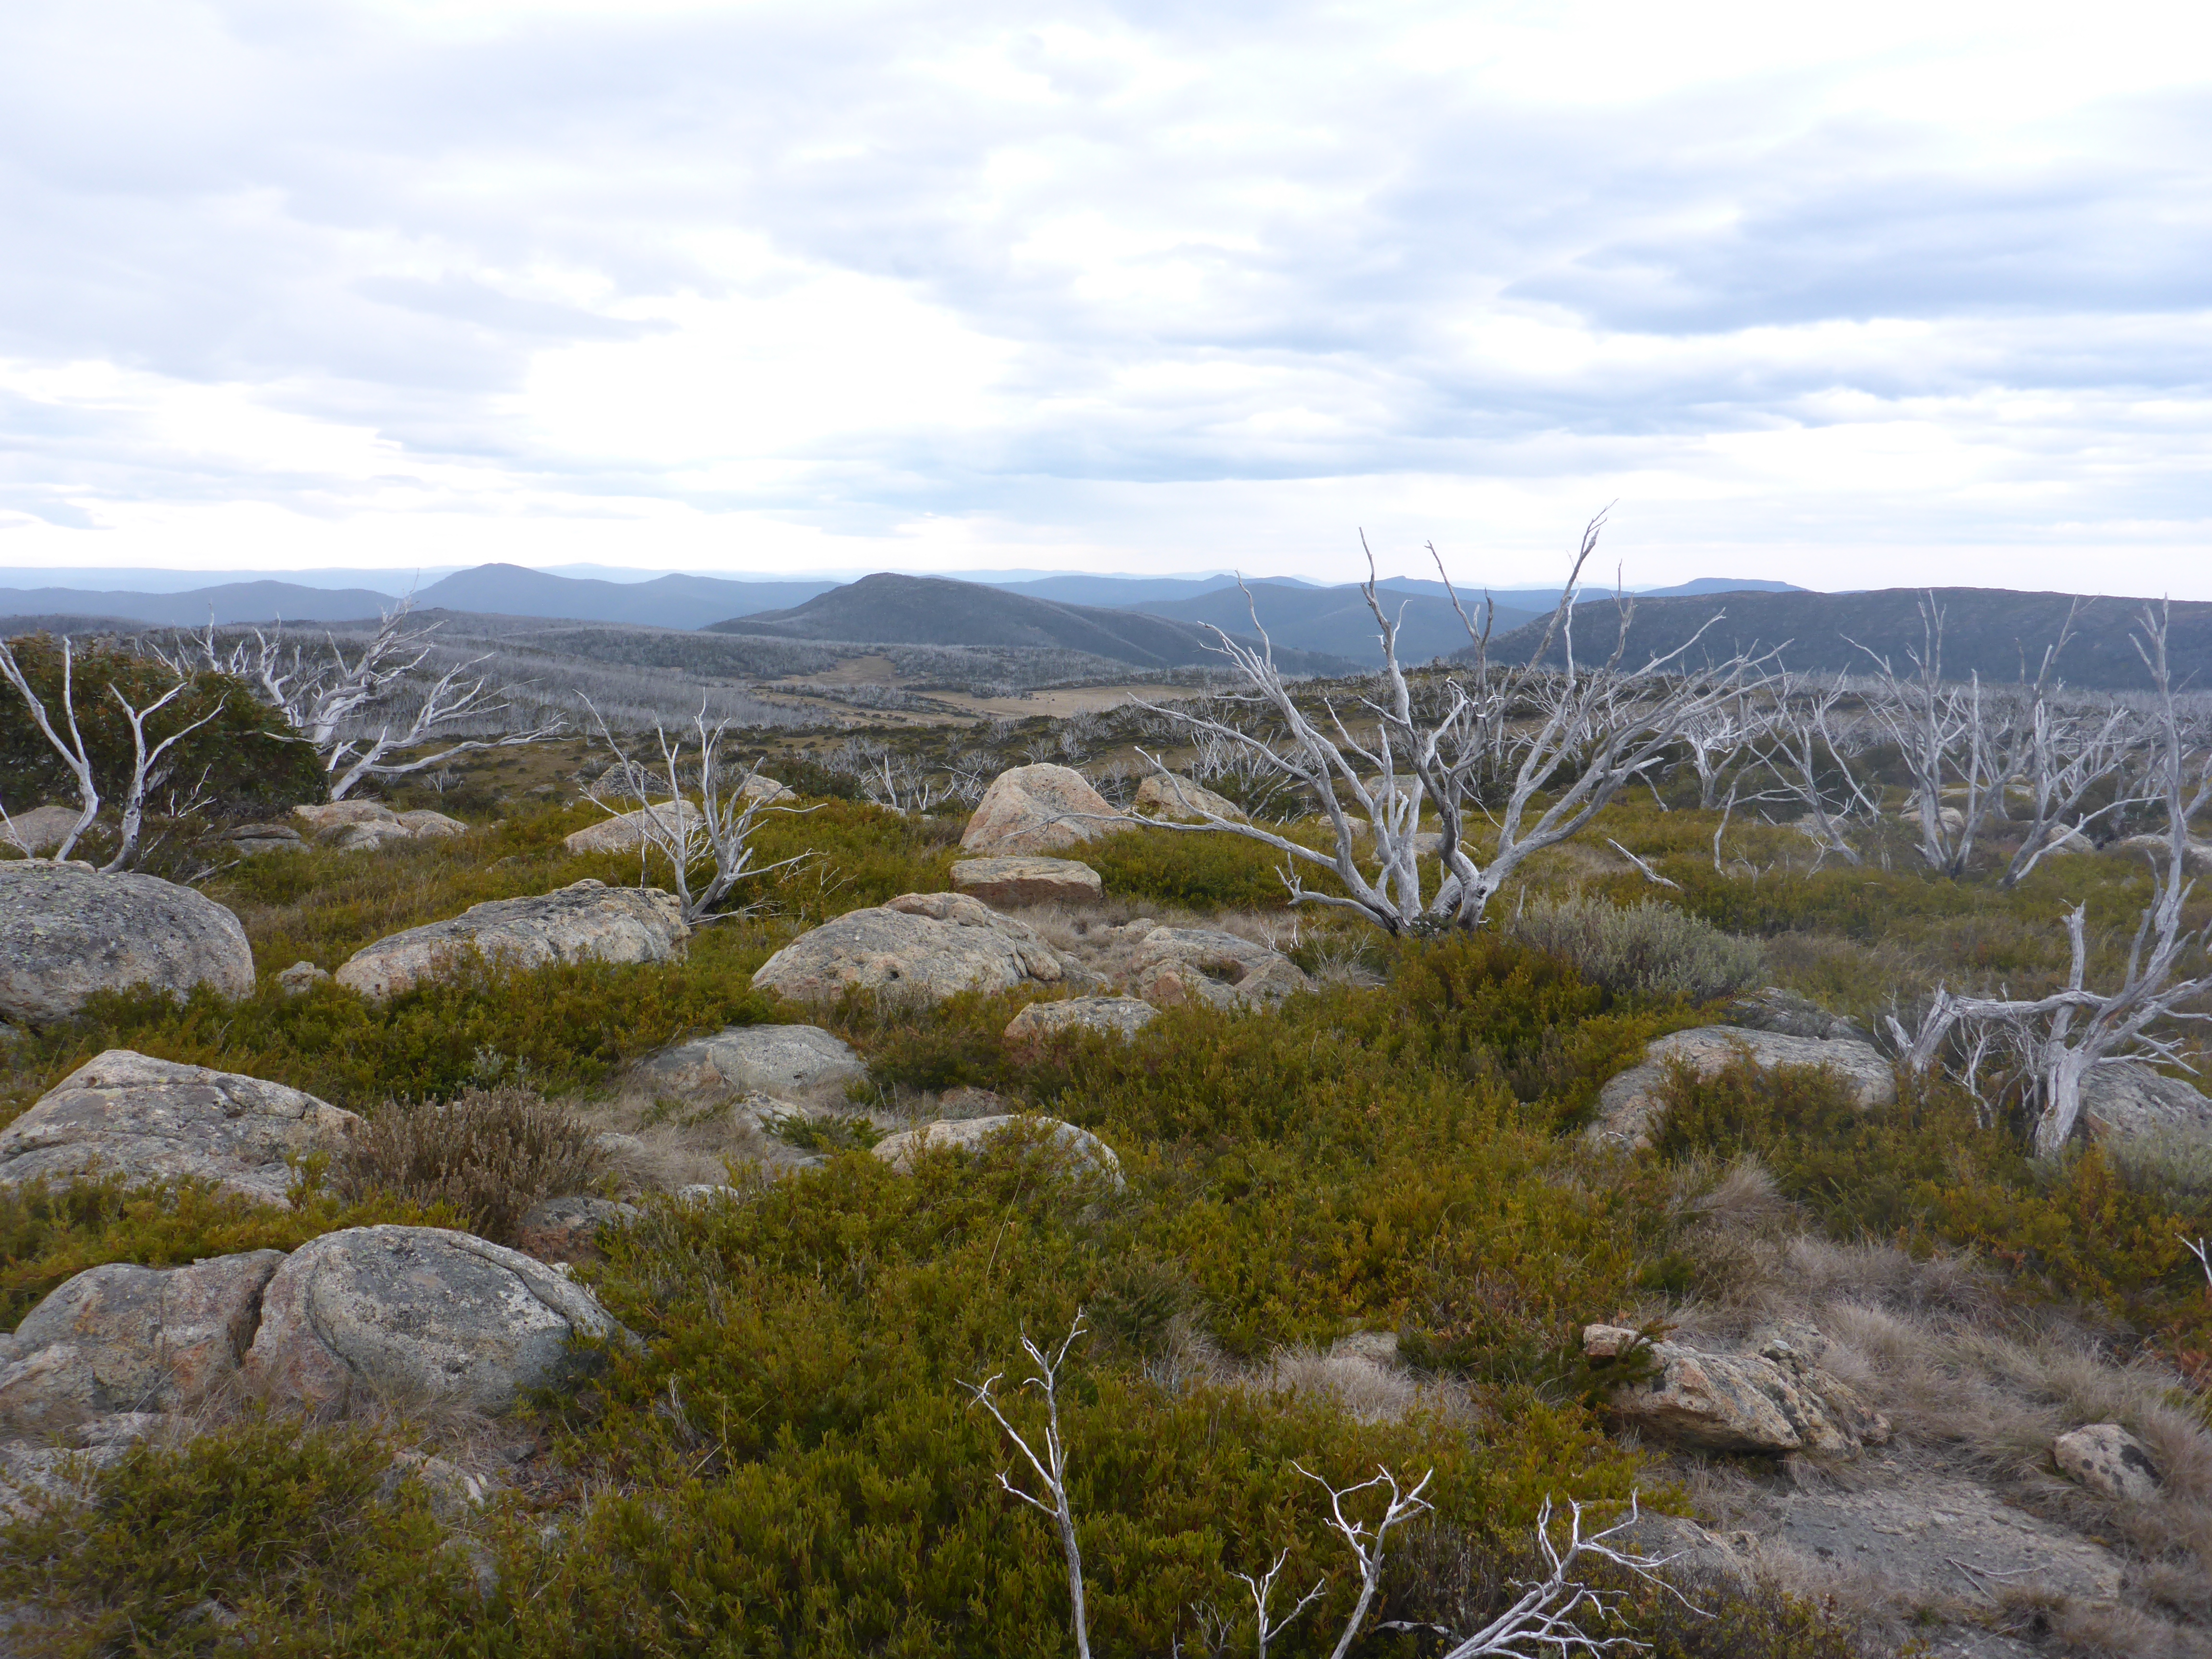
Picture Point Range summit plateau
The summit itself is quite open and rocky with plenty of room for antennas. There is apparently a slightly easier approach on the steeper and rockier northern flank, but we didn’t find that on this trip.
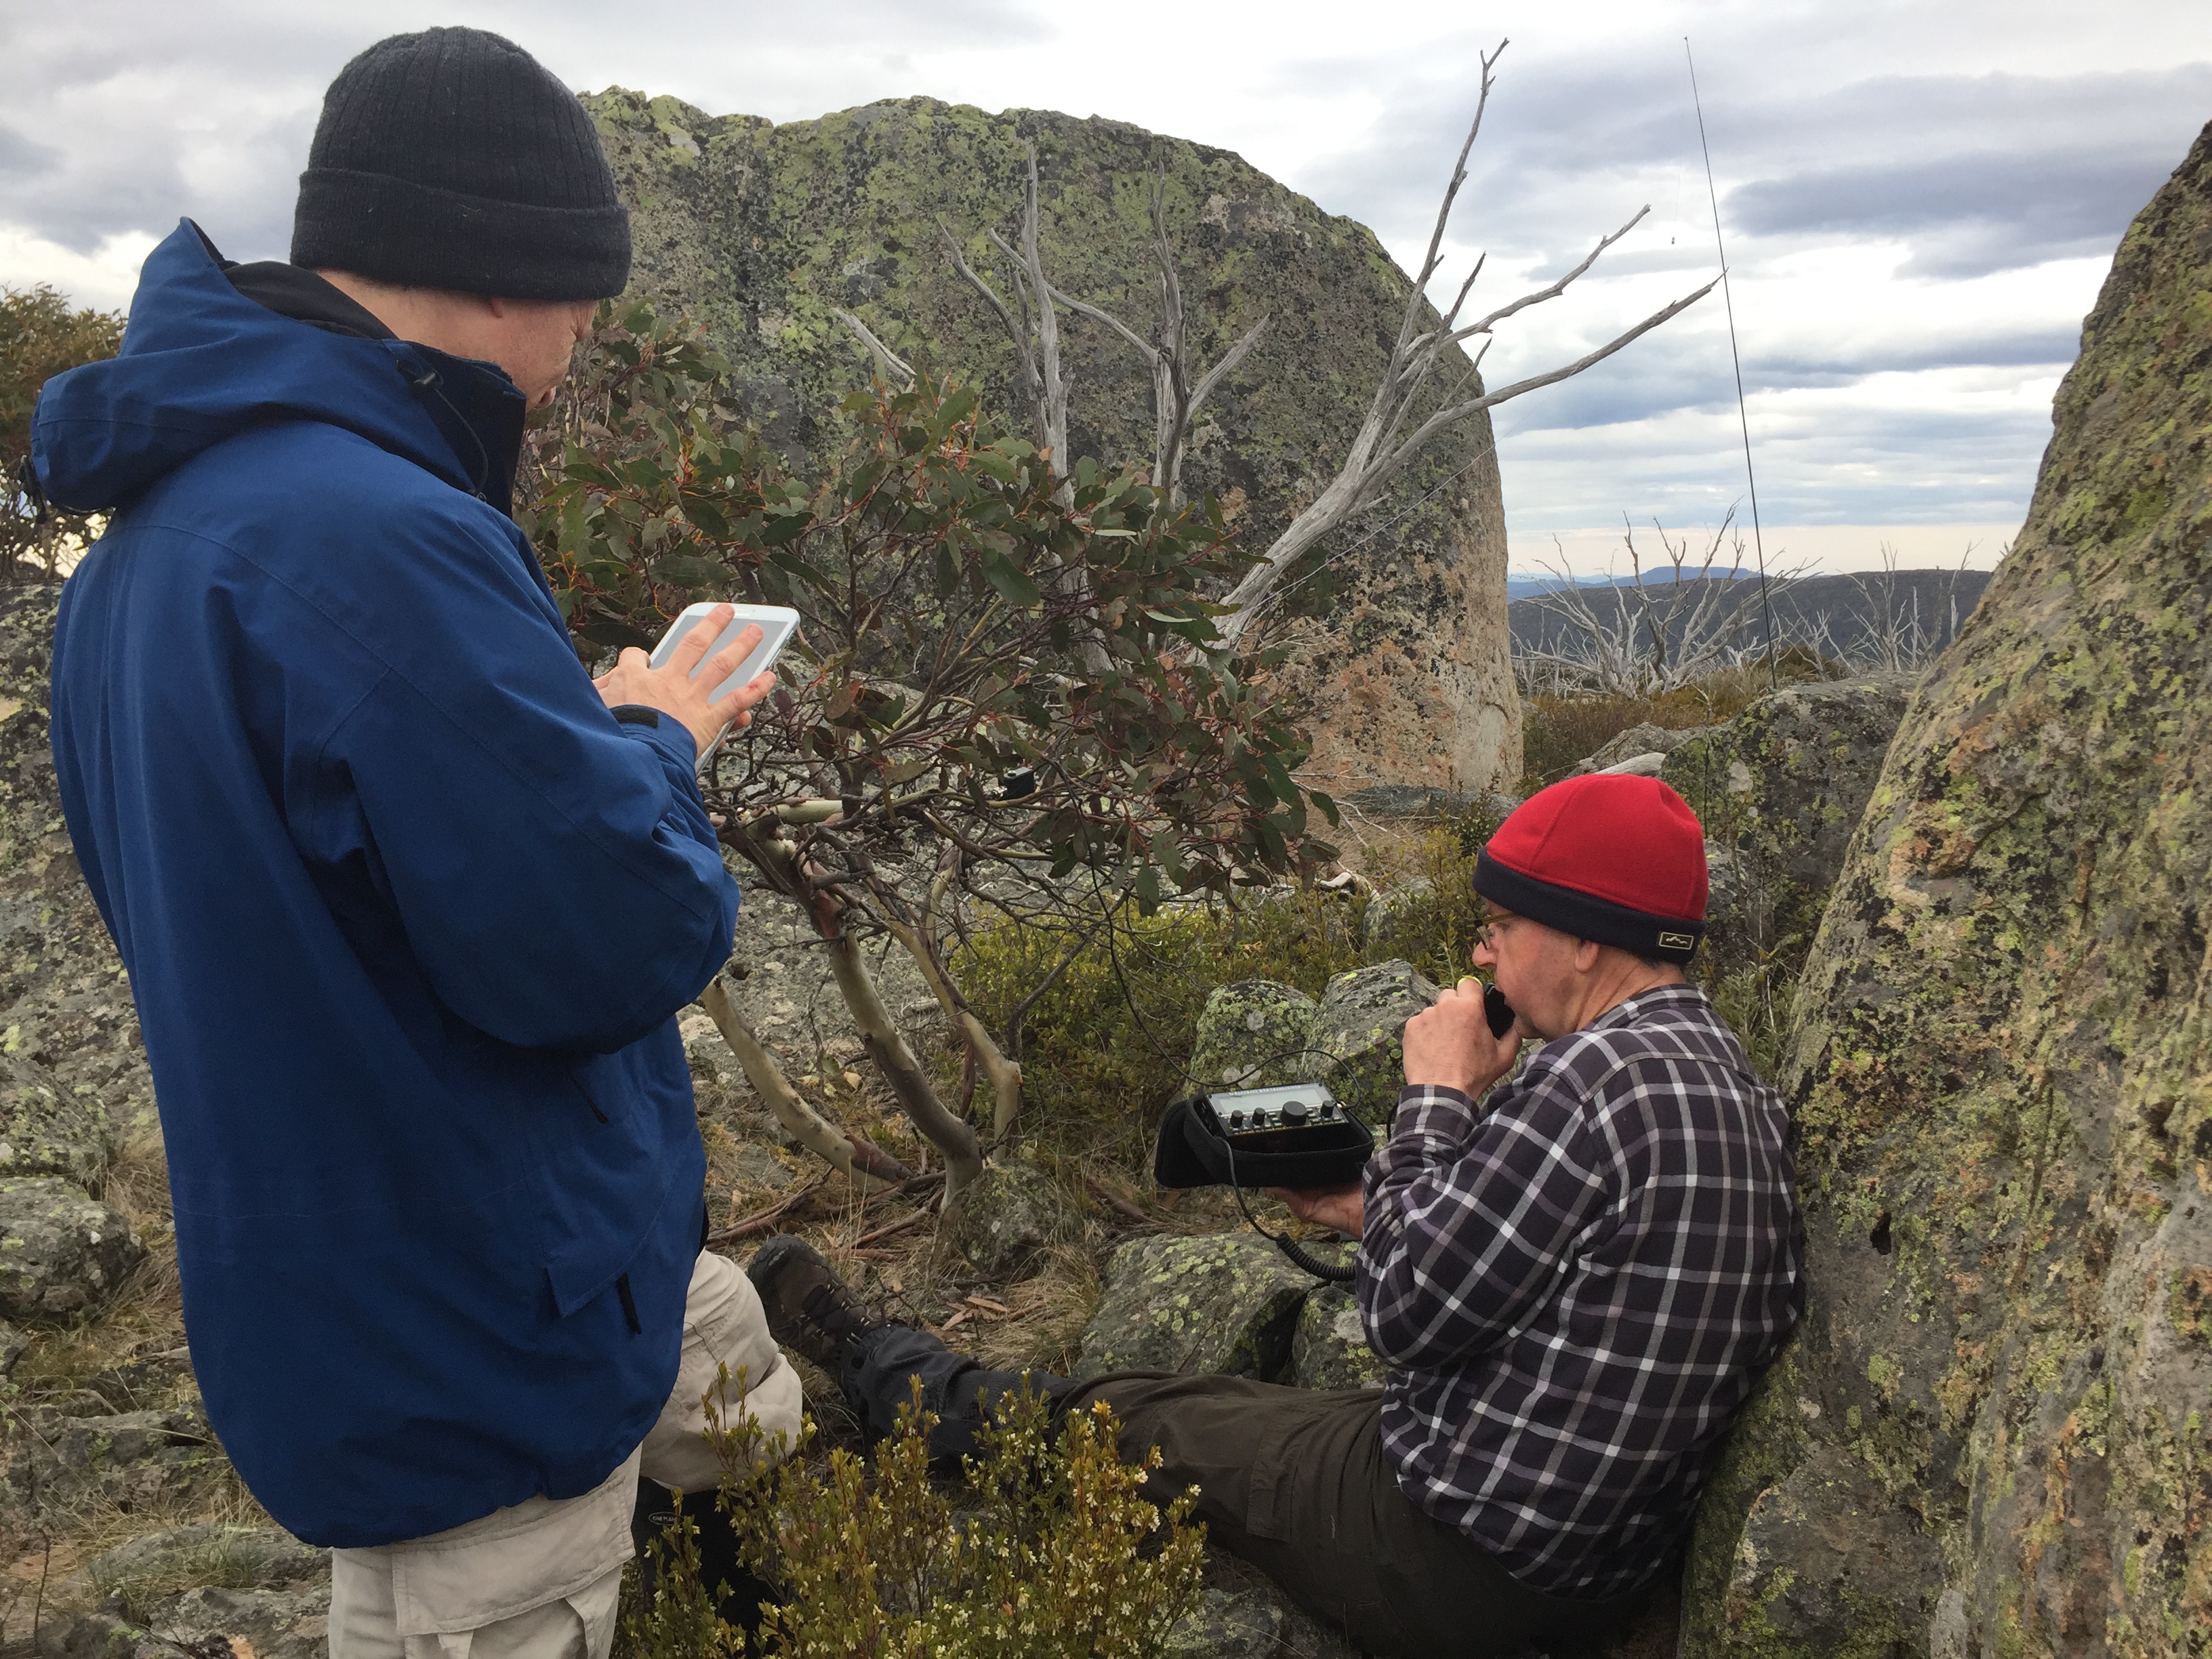
Glenn working chasers on Picture Point Range (Photo: Andrew VK3JBL)
As we set up, we could see rain approaching from the north west and so hurried to get on the air on 40m with Glenn’s smaller antenna and KX2. Surprisingly we stumbled on a S2S with VK4NHH on VK4/SE-039 and also managed to complete a S2S with Tony VK3CAT on Mt Ritchie using Andrew’s 4 element 2m beam on 2M FM. With the weather closing in, we qualified the summit and hastily packed the gear away just as the rain arrived.

Andrew talking to Tony VK3CAT on 2m FM to Mt Ritchie while Glenn holds the antenna
The walk back to McFarlane’s Saddle was in light but steady rain for most of the way. It had cleared by the time we returned to camp and so we were able to enjoy lunch in patches of sunshine. By the time we had finished lunch we debated an attempt on Trapyard Hill. This is a relatively short distance, but has a lot of thick (and now wet) bush to push through and we estimated that it would be about 4 hours to activate it. Given it was already 1:00, we decided to give it a miss and get home in time for dinner. It’s about a 4 hour drive from McFarlane’s Saddle camp back to Melbourne.
Another worthwhile outing netting 37 points and a weekend in a picturesque part of Victoria.
Thanks for the post David, was away from radios last weekend so missed chasing the group, 80 and 40 seem to be working sufficiently well at the moment. 73 VK3HN.
Thanks for including the hammock info, I have wondered what it would be like to sleep in one.
Do you ever worry about not being able to find two trees to hold it up?
Thanks for the post, Warren vk3byd
Warren, its very comfortable, but some people don’t like them, so best to try before you buy if possible. If I can’t find trees, I can pitch the tarp with hiking poles and use the hammock as a bivy on the ground. Most places I’m likely to camp (in Victoria at least) are likely to have trees, but if I know there won’t be any options, then I can always pack a tent 🙂
An excellent post David. A really nice surprise to hear you and Glenn on 17m SSB! Thanks for the S2S.
73 Andrew VK1AD