For the fifth year running I returned to two regular winter summits – Mt Loch (VK3/VE-005) and Mt Hotham (VK3/VE-006) as part of our school holiday ski trip to Mt Hotham. Rather than write the usual narrative which would read very similarly to the previous four activations (see 2013, 2014, 2015, and 2016), I thought I would spend this post documenting what I’ve learned about activating snowy Australian mountain tops (however I have included photos from this activation to provide some visual relief!)
Activating in the snow
What is the attraction of snow activations?
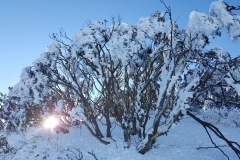
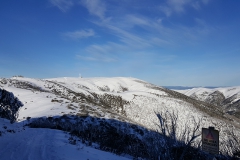
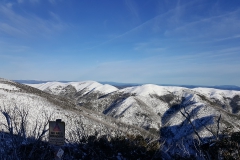
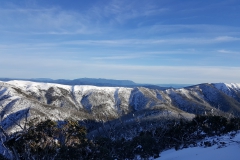
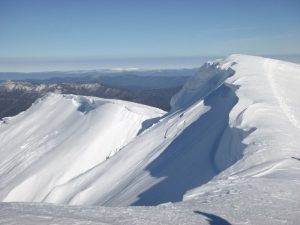
We are all aware of the beauty of the Australian bush and this is of course one of the key reasons we climb mountains. The snow takes that beauty to a whole new level – a sunny winter’s day on the summit of a snow covered peak is truly spectacular as I hope some of the photos in this post illustrate. It is also, of course, about the challenge that the environment presents, and let’s not forget those bonus points!
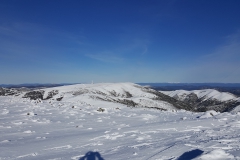
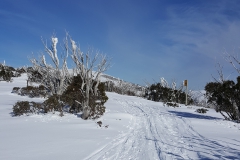
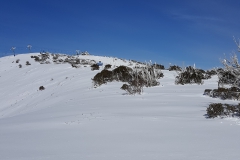
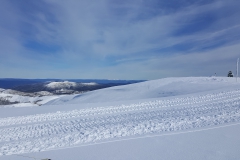
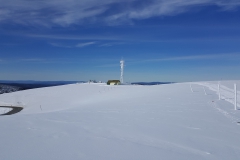
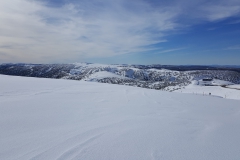
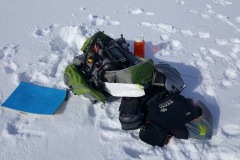
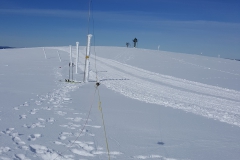
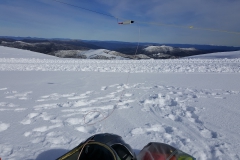
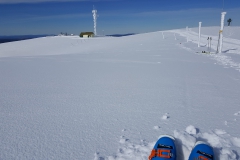
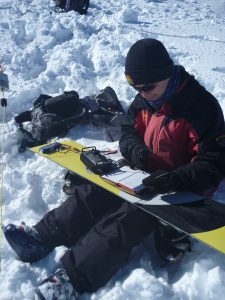
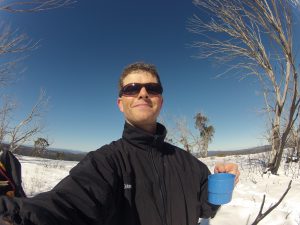
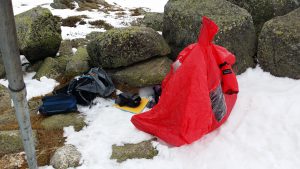
To give you a taste of why alpine activating is so addictive, here’s a gallery from this activation (click on image to bring up a larger view):
How does a snow activation differ from an activation below the snow line?
There are probably two significant factors that dominate thinking about alpine activations: Weather and travel in the snow.
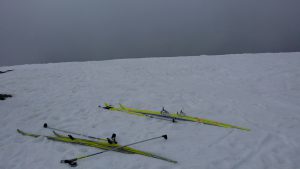
The weather is paramount and a far more important factor than for lower altitude activations – bad weather in snow country can be very unpleasant and lethal in the worst case. Wayfinding in a white-out (thick fog on a white landscape) can be almost impossible and I’ve experienced fog so thick that you can’t see your skis on your feet! Blizzards have claimed many lives over the years of the poorly prepared as the combined effects of wind chill and the heat sapping effects of snow and ice combine leading to rapid hypothermia. Rescue in such conditions can be significantly delayed and you need to be prepared to manage the risk.
All that said, it is really a reminder to take a careful look at the weather forecast and plan conservatively in addition to being well prepared (see below).
Assuming your target summit is not drive-up, travel in the snow is significantly different to hiking through the bush. Walking through deep snow in normal hiking boots is slow and very hard work – not really practical. There are three main options to make travel efficient. In increasing level of required skill: snow shoes, cross-country skis and alpine touring skis.
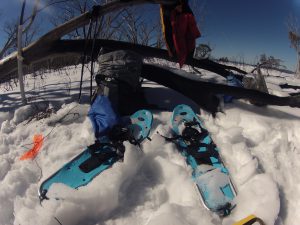 For non-skiers, snow shoes are a good option. They can be easily hired and fitted over normal hiking boots. Walking in them is not much different to normal walking and they will get you to most summits easily enough. They are however, much slower than skis for travelling any distance, particularly going down hill!
Cross-country skis are light and it’s easy to learn the basics. They are very good for relatively flat terrain, but not so good for steep terrain. It takes some time to develop the balance needed for carrying heavy packs on cross-country skis – I know, I’ve face-planted quite a few times!
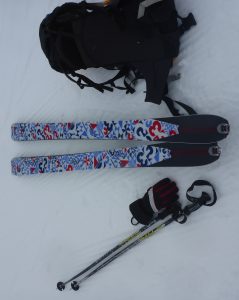
Alpine touring skis are a hybrid between cross-country skis and downhill skis. Through the application of “skins” to the bases, you can walk straight up remarkably steep hills. Coming down, you remove the skins and lock the heels of your boots to the skis turning them into full downhill skis which provides great stability for descents on steep terrain.
Ultimately, the choice of mode will depend on whether you already have skiing skills, or take the time to learn them. Snow shoes are a great option for many people.
What do you need to wear?
Forget jeans (and cotton in general) in the alpine environment. You need insulation that stays that way even when wet. You also need wind-proof, water-proof outer wear that is breathable (Gortex, Event etc) – these fabrics work very well in the alps as the air is generally very dry.
The other really important principle in the alps is layering. This is something we all do for normal hiking, but in the alps the layering becomes more extensive. On a sunny day with no wind, even if it’s -3 degrees, you will be stripping down to a single layer probably with no head covering or gloves as you power up a steep mountainside. The moment you stop, however, you will be putting on a mid-layer and insulated parka. If the wind gets up and it starts snowing, you will be adding a beanie, balaclava, neck muff, parka hood and likely another mid-layer.
On your lower half, you can either wear insulated ski pants with optional thermal under layer, or thick fleece pants with a waterproof, breathable outer layer.
You lose a lot of heat from your head and neck region and so you need to protect both from the cold. As I mentioned above, a warm beanie with parka hood is a minimum, but a balaclava and a neck muff are good extras to carry. It’s amazing what a difference a neck muff can make to your warmth by blocking heat loss from the top of your jacket and providing a thick layer of insulation to your neck which can be pulled up over your nose and mouth if the weather is particularly cold.
Your hands need thick gloves as they cool down easily and it’s really hard to put up antennas with numb fingers! I also recommend a thin inner-glove which can be used alone inside shelters to provide some insulation whilst still leaving plenty of dexterity.
Footwear will be determined by your mode of transport. Normal hiking boots are fine with snow shoes, but obviously you need the appropriate boots for any type of skis.
The final clothing item that is essential is sun-glasses and/or ski goggles. Don’t be tempted to do without these – snow blindness is real and very painful – it’s essentially sunburn of the eyeball. I once spent a day in my youth skiing without sunglasses and my eyeballs felt like they were being rubbed with sandpaper for the next few days – never again! On sun protection, don’t forget the sunscreen. Whilst in the low lands in winter, it’s not usually needed, in the alps you will get badly burnt on a sunny day in winter. The snow reflects ultra violet, so remember to protect under your chin!
What extra safety gear do you need to take?
Most of us already carry basic safety gear such as first aid kits, maps, compasses, GPS units, whistles, fire starting equipment etc. These are all important in the alpine environment too. The items I’d recommend adding are as follows:
- A personal locator beacon (PLB, SPOT or similar)
- A survival sleeping bag
- A Bothy bag
- An extra down mid-layer
- Water or stove to melt snow
These are to cover the contingency of becoming lost or caught in bad weather. Alpine weather can change quickly and if the cloud comes down causing a white-out, you can become disoriented very easily. If it starts snowing heavily, those tracks you made will soon disappear.
You need to have with you sufficient resources to let people know you are in trouble and avoid freezing until help arrives.
Don’t under-estimate how much water you will need – alpine air is often very dry and you will sweat climbing steep mountainsides. On an extended trip, water is never a problem as clean snow is safe to drink once it has been melted (make sure you take enough fuel to do this though!)
What are the natural hazards you need to be careful of?
Let’s start with one that you don’t need to worry about – snakes! They’ll all be sound asleep.
I’ve already talked about weather which is the most significant natural hazard. The next most significant would be ice. Australian alps have regular melt-freeze cycles which can generate icy surfaces – these are extremely slippery and if they get very hard, can be impossible to traverse without crampons and an ice axes (think ice skating rink on a hill). Thankfully, areas of ice are usually limited and it’s mostly possible to go around ice patches.
The third area to be careful of are cornices and avalanches, although the latter are relatively rare in the Australian alps. A cornice is a build up of snow and ice at the edge of a drop-off that has either a near-vertical face or overhang. From the top, they appear to be flat snow and are deceptively dangerous. The weight of someone walking near the edge will often cause them to collapse with potentially lethal consequences. Big cornices can extend quite some distance out from the underlying mountainside and so always keep well away from the edges.
A cornice collapse (which can happen naturally) is one of the main triggers of avalanches in Australia, so you should also never cross a slope below a significant cornice.
Most of the alpine summits in Victoria have relatively flat approaches and so avalanche danger is low (the one exception being Mt Feathertop). I’m not so familiar with the NSW Main Range, so others may like to comment.
What are the practical operating issues?
The main practical issues are related to keeping warm (setting up and operating – particularly your hands), and battery life. It’s hard to set up antennas and operate small knobs/buttons with ski gloves on! As I mentioned earlier, as soon as you arrive at the summit, you should layer up to avoid cooling too quickly. Setting up usually needs to be done with either thin gloves or bare hands for dexterity, but you need to work fast to avoid numb fingers. If it’s really cold, you may need to take breaks to warm your hands in your gloves.
Actually operating, I find that I can use a gloved hand to operate a microphone, but need an un-gloved, or thin-gloved hand for writing and operating a mobile phone for logging/spotting. If it’s not too cold, keeping the un-gloved hand under your arm when you are not using it keeps it warm enough.
If it’s at all windy, I find a Bothy bag ideal. Use a hiking/ski pole to hold the centre up and use your pack to hold the far side. It warms up remarkably quickly and is soon comfortable to remove gloves.
We all know that batteries don’t perform too well in the cold and that becomes a significant issue with alpine activations. I’ve found that it’s good to take a slightly bigger battery than you would for warmer activations (I tend to use either 1.5Ah or 2.2Ah 3S LiPos for my KX3). I also find I need to take a 12V to USB phone charger to replenish my mobile phone during a day of activations. It’s also a good idea to keep your phone in a pocket inside your parka to keep the battery warm (you can do this with your LiPos too).
Finally
I hope the warnings above don’t put you off activating in the snow as it’s a great experience. You just need to take appropriate precautions and watch the weather.
If there are other things you’d like to know about alpine activations, just ask and I will add further detail to this post. Similarly, I’d value thoughts from other alpine activators on what I’ve missed or maybe even got wrong!
Highlights from this activation
There were a few highlights for me in this activation. The weather was fabulous – light winds and clear blue sky. I trekked to the summits using my Alpine Touring skis (see my description of these in a previous post) for the first time. This in particular made the trip down from the summits much quicker and much more stable compared to previous trips using cross-country skis. I also found the Aarn body pack excellent for skiing as it centres the weight in line with your body and I feel much less unbalanced than with a conventional pack. Contacts were a little thin being mid-week, but I had no trouble qualifying them on 40m and 80m with mainly regular chasers. Here’s the stats for the hike:
It’s interesting to compare to the previous activation which was on cross-country skis:
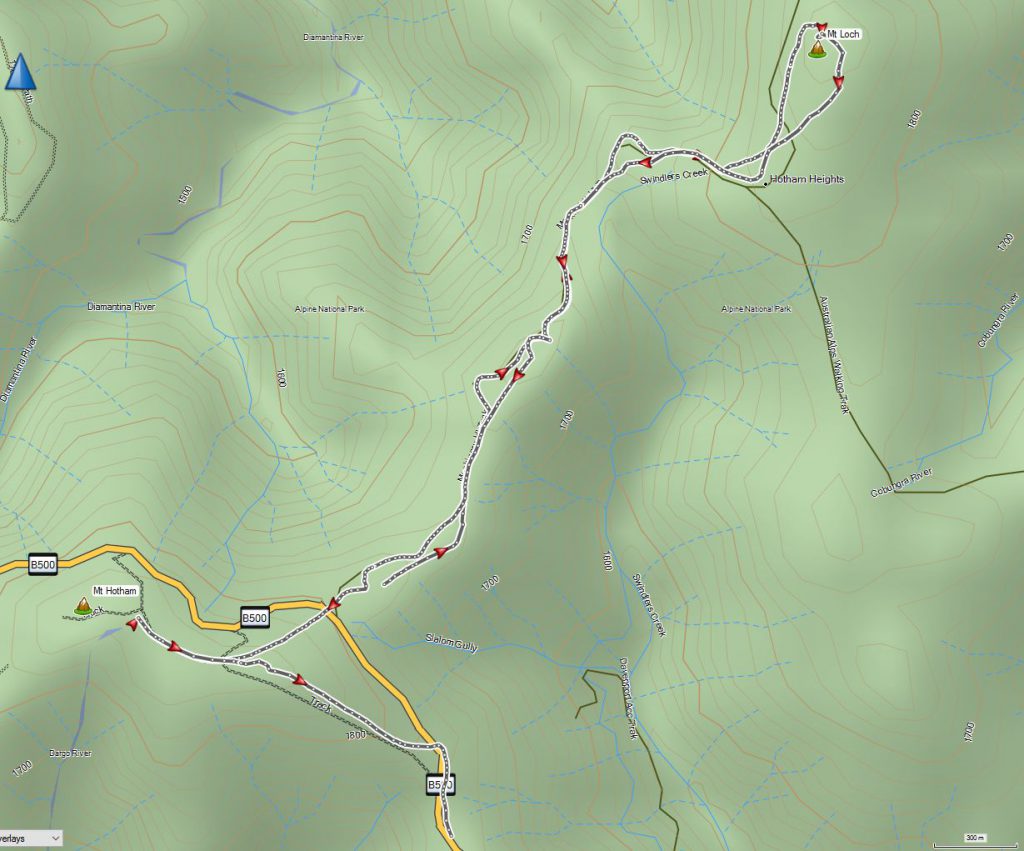
You can see that the moving average was significantly faster on the Alpine Touring skis. Finally, here’s the route I took this year. I actually took the Heavenly Valley chairlift to near the Loch car park rather than driving to the car park. I also ended the trip by skiing down the summit to the village bus stop.

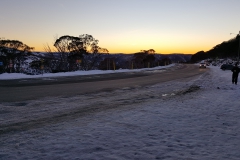
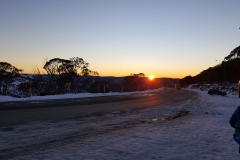
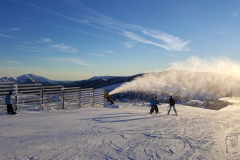
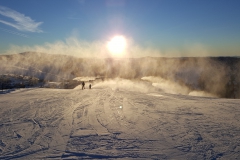
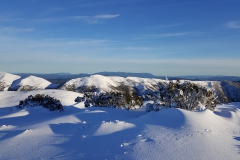
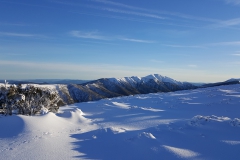
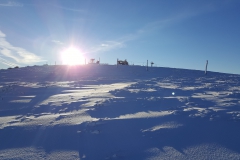
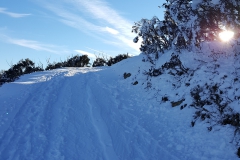
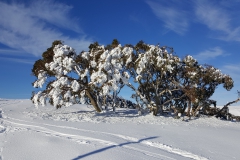
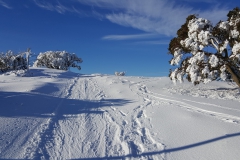
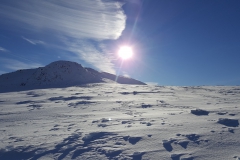
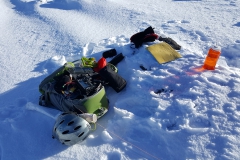
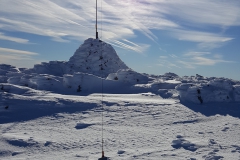
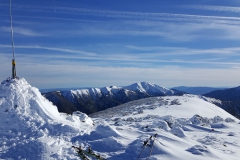
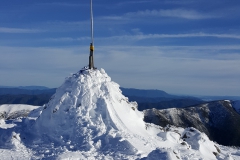


Lovely pictures 🙂
Thanks. All taken with my Samsung S6+.
Great pictures avid and very sound advice. One thing I’ve learned the hard way is don’t take your skis off if you encounter ice. Ski boots have less grip than the edges of your skis. Obvious I know but at the time …….
Let’s hope propagation is better for next year.
73
Ron
VK3AFW
Thanks Ron. Yes, agree, ski edges are much better on ice than boots. Snow shoes aren’t bad either as they usually have crampon-like teeth that will grip on ice to some extent.
Thanks for the write-up of Above-Snow-Line activating David. Creative and useful way of avoiding yet another activation report just like the last 3 for this summit, a constant challenge for SOTA bloggers. I haven’t done many ASL activations and probably need some more snow gear before I attempt any. One comment, the extremities are what gets cold first, and you covered hands, but what about feet? What socks do you recommend, one pair or two, is it any different ASL to regular hiking?
Good question Paul. For Alpine Touring skis, the boots are really a form of downhill ski boots. These are well insulated and usually you wear only very thin socks with these. For both cross-country skis and snow shoes, the boots are more akin to hiking boots and I use the same socks as for normal hiking – thin Armaskin socks with Explorer socks over the top. The Armaskins (https://www.armaskin.com/) are there for blister prevention and seem to work well.
Thanks for the Armaskin pointer. Nothing beats a $40 pair of socks. I’ve gone close to this price point with Bridgedale https://www.bogong.com.au/bridgedale.html They are good quality socks and I wear them in the winter to work. It makes me feel like I am that little bit closer to the Great Outdoors. Unfortunately most days, that’s a daydream.
Paul, I too have now invested in a pair of Bridgedale Summit socks and they are much better than explorers.